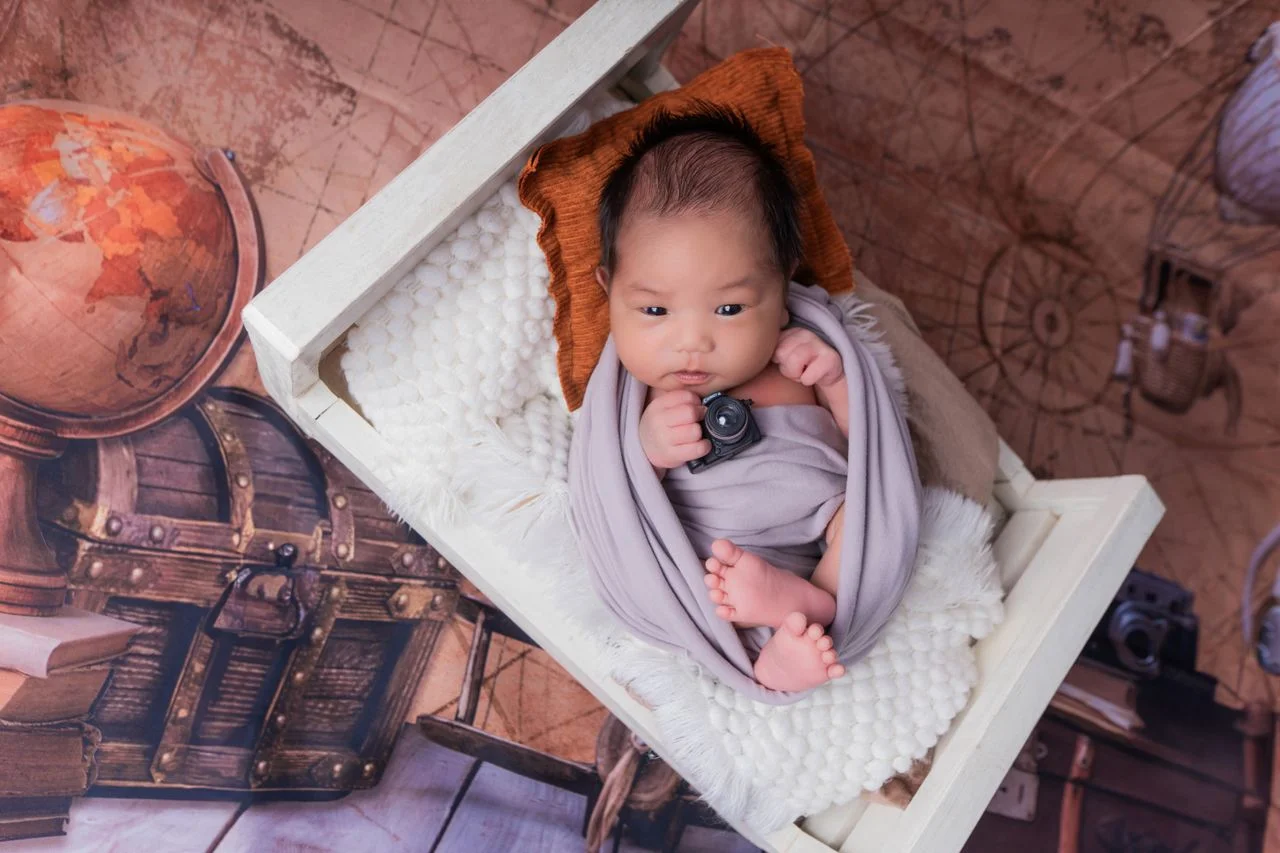
The first days of a newborn’s life represent one of the most photographically significant windows in a family’s history. A baby who is five days old will never be five days old again. The curled fetal position, the translucent fingernails, the downy hair across the shoulders, the way the whole body fits in a single pair of cupped hands — these details are gone within weeks. Newborn photography exists specifically to preserve them.
This guide covers newborn photography from both sides of the camera: what parents need to know about booking, preparing, and getting the most from a professional session, and what photographers need to know about safe posing, lighting, equipment, technique, and building a sustainable newborn photography business.
What Is Newborn Photography?
Newborn photography encompasses any photography specifically focused on babies in the first few weeks of life — typically the first four weeks, with the optimal window being the first five to fourteen days. It divides into three distinct approaches, each with different aesthetics, requirements, and client expectations.
Posed Newborn Photography (Studio Style)
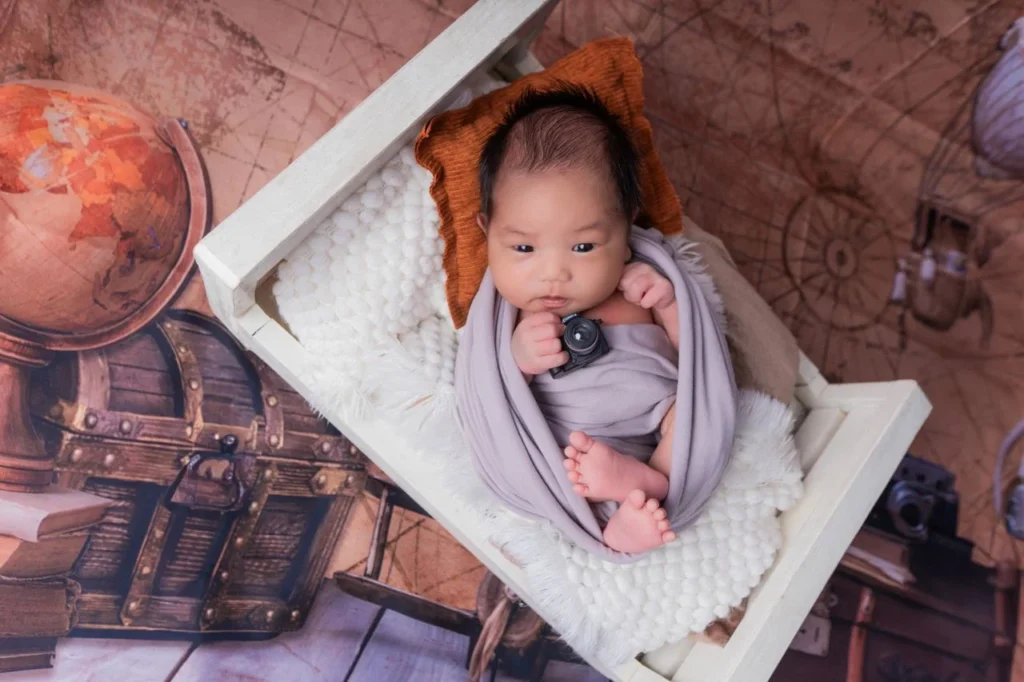
The style most commonly associated with newborn photography: a baby photographed in a studio or home studio environment, often asleep, placed into specific poses using wraps, blankets, and props. The posing is deliberate and compositional — creating symmetrical, aesthetically composed images that emphasise the baby’s size, delicacy, and physical characteristics.
This style requires specialist training. The poses — particularly composite poses that appear to show babies supporting themselves unsupported (the “froggy pose,” the “hands under chin” pose) — are typically achieved through compositing multiple safe images together in post-processing, not through placing a baby in physically risky positions. An experienced newborn photographer never places a baby in any position the baby cannot naturally achieve without support, and never leaves a baby unsupported during any pose.
Props are a significant element of this style — wraps, swaddles, baskets, bowls, wooden crates, floral arrangements, and themed setups create the visual interest and colour palette of the images.
Best for: Families who want classic, timeless portrait-style newborn images with clean aesthetic. Ideal for wall art, albums, and framed prints.
Lifestyle Newborn Photography
Lifestyle newborn photography documents the family in their natural home environment, focusing on authentic interaction, natural light, and unposed moments between parents, siblings, and the newborn. The baby is photographed awake, alert, feeding, being held, sleeping on parents — in all the natural situations of early family life.
This approach requires less specialist newborn posing knowledge but demands strong documentary and portrait skills — reading light in an unfamiliar environment, directing family members to interact naturally rather than pose, and recognising the genuine moments of connection that make lifestyle newborn images compelling.
Best for: Families who want authentic documentary-style images that capture the reality of those first days — the chaos, the joy, the exhaustion, the overwhelming love. Particularly appropriate for parents who feel self-conscious about posed sessions or who want images of the full family rather than just the baby.
Birth Photography
Birth photography documents labour, delivery, and the immediate postpartum period — the moments immediately before, during, and after the birth itself. It is the most emotionally intense and logistically complex newborn photography discipline, requiring the photographer to be available on call from the client’s due date, potentially waiting hours or days at the hospital or birth centre, and photographing in a medical environment with specific access and protocol requirements.
Birth photography requires explicit written permission from the delivering hospital or birth centre, from the patient’s medical team, and often from every person present in the delivery room. Not all hospitals permit birth photography — research local policies before marketing this service.
Best for: Parents who want a complete record of the birth experience, not just the resulting baby. The images produced — raw, emotional, and deeply personal — are among the most significant photographs any family will ever own.
When Is the Best Time for Newborn Photography?
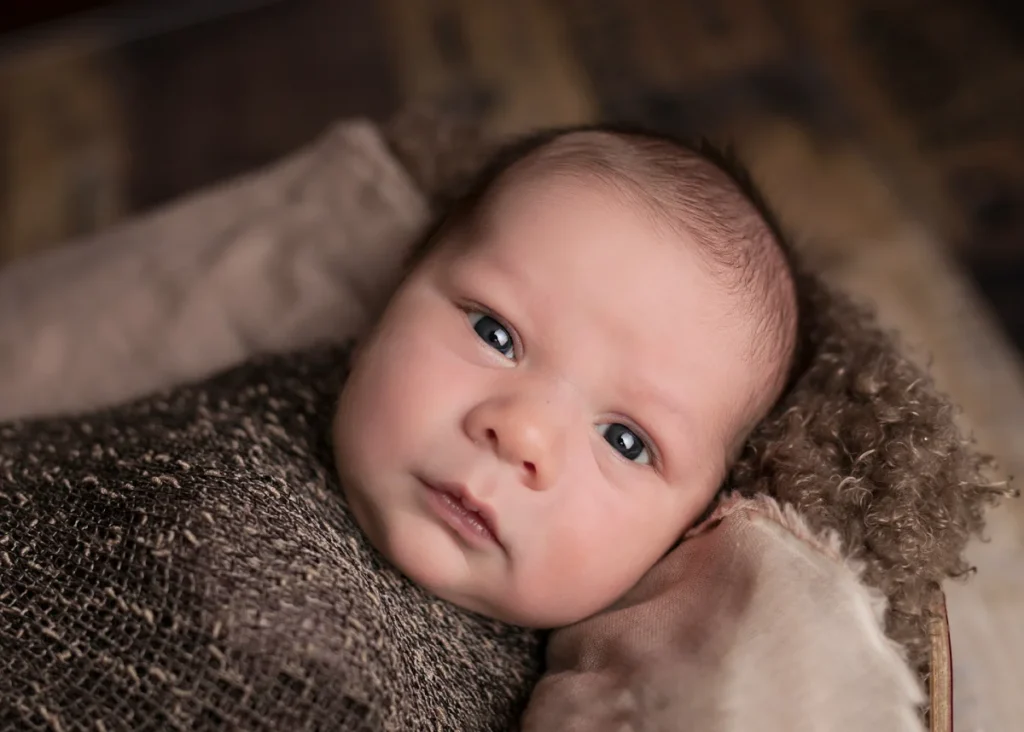
Timing significantly affects what is achievable in a newborn session. The optimal window is five to fourteen days after birth, for several interconnected reasons:
Sleepiness: Newborns in the first two weeks spend the majority of their time sleeping. A sleeping baby allows the positioning time required for posed newborn photography. By three to four weeks, babies become more alert and wakeful — making posed sessions significantly more challenging and frequently requiring a different approach.
Flexibility: In the first two weeks, newborns retain the flexible, curled positioning of the womb. They tuck naturally into curved positions and can be gently guided into aesthetic poses. As the weeks pass, muscle tone increases and the natural curl of early life disappears.
Physical newness: The visual characteristics most associated with newborn photography — the vernix that may still be present in skin folds, the umbilical cord stump, the extreme delicacy of the skin, the disproportionate size of the head relative to the body — are most pronounced in the first week and diminish rapidly thereafter.
For birth photography: The photographer must be on call from approximately 37 weeks gestation and available to arrive at the birth location within an hour of the parents’ call.
Booking timing: Book your newborn photographer during the second trimester — ideally between 20 and 28 weeks. Experienced newborn photographers in most markets book out weeks or months in advance, and a tentative booking made during pregnancy is secured with a deposit and confirmed once the baby arrives and a specific date is set. Waiting until after the birth to book typically means missing the optimal window.
Newborn Photography Safety: Everything Parents Need to Know
Safety is the single most important consideration in newborn photography. A well-trained newborn photographer prioritises the baby’s physical safety and comfort above any aesthetic consideration — no image is worth a risk to a baby’s wellbeing.
What Safe Newborn Photography Looks Like
Only natural positions: A safe newborn photographer places babies only in positions they could naturally achieve without harm — typically supported by wrapping, by beanbag positioning, or by parental hands that are later removed in post-processing.
Composite posing: The most admired newborn poses — particularly the “froggy” (where the baby appears to rest chin on hands with elbows together) and similar “supported” positions — are typically achieved as photo composites. The baby is photographed separately in safe individual positions, and the images are merged in editing. Parents should understand and expect this — it is the professional standard, not a shortcut.
Temperature management: Newborns cannot regulate their own body temperature. A professional newborn studio maintains a warm environment (typically 24–26°C / 75–80°F) that allows babies to stay comfortable while unswaddled. A portable studio set up in a client’s home should include a portable heater to maintain appropriate temperature.
Never leave unattended: A newborn is never left unattended during any stage of a session. A second person — an assistant, the parent, a spotter — is always present.
Reading baby cues: Any sign of distress — crying, colour change, stiffening, abnormal breathing pattern — stops the session immediately. Experienced newborn photographers read these cues instinctively and adjust or pause without being asked.
Hygiene: All props, wraps, and surfaces are cleaned between sessions. Any photographer who handles multiple babies per week must maintain rigorous hygiene standards — particularly relevant for photographers who visit multiple homes per week.
Is Flash Photography Safe for Newborns?
This is one of the most commonly searched questions in newborn photography and the answer is nuanced.
The scientific position: There is no credible evidence that brief, properly diffused photographic flash causes harm to newborn eyes. Newborns are not born with the visual sensitivity to bright light that older children and adults have — their retinas are still developing. The flash produced by a studio strobe or speedlight is brief (typically 1/1000 to 1/10,000 of a second), much less intense than sunlight, and fully diffused through a softbox before reaching the baby.
The practical recommendation: Most experienced newborn photographers use continuous LED lighting rather than flash as a matter of practice — not because flash is dangerous but because continuous light allows real-time assessment of the lighting effect on the baby’s skin, avoids startling a sleeping baby with the flash burst, and eliminates any possible parental anxiety about flash. The quality of continuous LED lighting (at appropriate colour temperature and diffusion) is fully adequate for newborn photography.
If flash is used: It should always be fully diffused through a large softbox, never fired directly at the baby. The baby should never be facing directly toward the flash source. Parents should be informed that flash will be used and given the opportunity to express any concerns.
The position of major newborn photography organisations: Professional associations including NAPCP (National Association of Professional Child Photographers) and APNPI (Association of Professional Newborn Photographers International) do not prohibit the use of properly diffused flash but emphasise that it should never be directed at a baby’s eyes.
What to Expect at a Newborn Photography Session
Understanding the session structure helps parents arrive prepared and with appropriate expectations.
Duration
A professional posed newborn session typically takes two to four hours. This duration surprises many parents — they expect a one-hour session and find the reality much longer. The extended time is required because:
- Babies need to be fed and settled before posing begins
- Feeding breaks occur throughout the session as the baby indicates hunger
- Nappy changes are required multiple times
- The process of warming, positioning, and gently posing a sleeping baby is slow and patient work
- Outfit and wrap changes between setups take time
Arriving at a session expecting a two-hour minimum and potentially three to four hours will prevent frustration. The time spent is worth it — experienced photographers know that rushing a newborn session produces compromised results.
What to Bring
- Multiple nappies and wipes
- Pre-prepared bottles or nursing cover if breastfeeding
- A pacifier if the baby uses one (pacifiers are the newborn photographer's best friend — they soothe and often induce sleep)
- Any specific props the parents want included (personal items, family heirlooms, sibling toys)
- An extra layer for parents who may become cold while the studio is kept warm for the baby
What to Wear
For lifestyle sessions where parents appear in images, solid neutral colours (cream, white, grey, muted sage) tend to photograph most timelesslessly. Avoid busy patterns, logos, and very bright colours that draw the eye away from the baby.
For studio posed sessions where parents are primarily observers rather than subjects, comfort in a warm environment is the priority.
How to Pose Newborns: Techniques for Photographers
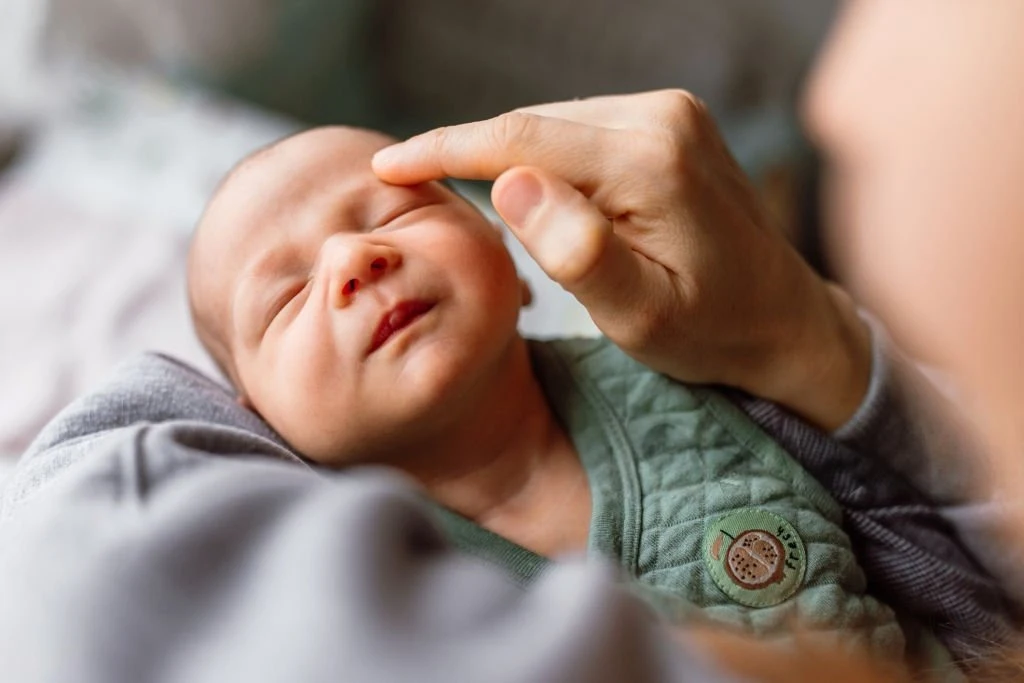
Newborn posing is a specialist skill that requires in-person training — reading descriptions alone is not sufficient education for safe newborn posing practice. This section describes the major pose categories and what they involve; photographers new to newborn work should complete a formal mentoring programme or workshop with an experienced specialist before attempting posed newborn sessions commercially.
The Beanbag Foundation
Most posed newborn photography is built around a large, malleable beanbag that provides a stable, adjustable surface for positioning. The beanbag is covered with multiple layers of blankets, wraps, and textures that provide both aesthetic variety and practical comfort and safety.
A proper newborn photography beanbag is large (typically 36–48 inches in diameter), firm enough to support poses but flexible enough to shape around the baby’s body, and covered in hygienic, washable fabric.
Wrapping and Swaddling Techniques
Wrapping is the foundational skill of posed newborn photography — the ability to securely, comfortably, and aesthetically wrap a baby in fabric creates both the visual aesthetic of the images and the sense of security that keeps babies calm and sleepy through the session.
Basic swaddle wrap: Fabric drawn tight and tucked under the baby at multiple points, creating a secure, cocoon-like enclosure with the face exposed. Used for the simplest posed images showing the face clearly against a wrapped body.
Cheesecloth wrap: Loose, open-weave fabric draped over and around the baby, tucked and folded to create organic shapes. The sheer quality of cheesecloth allows skin tones to show through and gives a soft, textured aesthetic. Cheesecloth can be dyed for custom colour palettes.
Stretchy wrap technique: Jersey or similar stretchy fabric that conforms closely to the baby’s body without requiring the precise folding of woven fabrics. Easier to work with for photographers developing their wrapping skills, and produces a clean, contemporary aesthetic.
Core Pose Categories
Back poses: The simplest and safest poses — the baby lies on their back on the beanbag surface. Variety is achieved through wrap placement, prop positioning, hand and face arrangement, and accessory placement.
Side poses: The baby is positioned on one side, typically with knees drawn slightly upward. A folded wrap or blanket supports the back and the front of the body. Never position on side without front and back support.
Tummy poses (face-down): Baby lies face-down on the beanbag with the face turned to one side. The most common pose in posed newborn photography. Hands may be tucked under the chin or face — only once the baby is naturally comfortable in this position, never forced.
Froggy pose (composite): As described in the safety section above — always a composite of at least two safe images, never achieved as a single shot.
Prop poses: Baby positioned in or around a prop — a bowl, basket, crate, hammock, or wrap-lined surface. All prop poses require careful consideration of structural stability and the baby’s safety inside or around the prop.
What Lens for Newborn Photography?
A 50mm prime (full frame) or 35mm prime (APS-C) is the most recommended lens for newborn photography — the natural perspective neither distorts the baby’s features nor compresses them, producing accurate, flattering images of small faces and body proportions.
An 85mm is useful for tighter detail shots and face close-ups from a respectful working distance.
A macro lens (90–100mm) is invaluable for the detail images that document tiny features — the fingers, toes, ears, lips — that make newborn photography visually distinctive. Capturing a newborn’s fingers wrapped around an adult thumb at 1:1 macro reproduction produces an image impossible with standard lens minimum focus distances.
For more on lens selection across focal lengths, our photography lenses guide covers the complete picture.
Lighting for Newborn Photography
Natural Light (Lifestyle Sessions)
Window light is the foundation of lifestyle newborn photography. A large window providing soft, indirect light (not direct sun, which creates harsh shadows and may cause squinting) positioned to the side of the main shooting area provides directional, natural-looking illumination that complements the documentary aesthetic of lifestyle work.
Position the parent or baby so the window light falls across the face or body from one side — this directional quality reveals skin texture and adds the depth that makes newborn images feel three-dimensional rather than flat.
On overcast days, the diffused natural light through windows is often even better than direct sun conditions — it is softer, more even, and flattering to delicate newborn skin without the contrast management challenges that direct sunlight creates.
Artificial Lighting (Studio Sessions)
Softbox lighting is the professional standard for studio newborn photography. A large octabox or rectangular softbox (60 inches or larger) positioned at a moderate distance from the shooting surface produces soft, even, directional illumination that flatters skin tones without creating harsh shadows.
The size of the softbox matters specifically in newborn photography — a very large source positioned close to the baby produces the wrapping, even light that gives posed newborn images their characteristic quality. A small softbox produces harder shadows that are less appropriate for delicate skin.
Colour temperature: Set consistently at 5500–6000K (daylight balanced) for the most accurate, true-to-life skin tone rendering. Warmer colour temperatures (3200–4000K tungsten range) shift skin to orange tones; cooler temperatures (above 6500K) shift to blue. Consistent colour temperature across all setups within a session ensures consistent editing.
What size softbox for newborn photography? Based on the keyword data from your CSV: a 60-inch (150cm) octabox or a 24×36-inch rectangular softbox as a minimum. Larger is better for newborn photography specifically because the combination of large source size and close proximity produces the softest, most even light.
Props, Wraps, and Backdrops for Newborn Photography
Essential Props
Wraps and fabrics: The most-used props in newborn photography. A working collection should include jersey stretch wraps in multiple neutral tones, cheesecloth in white and cream, and at least two or three colour-coordinated fabric options for customising sessions to client preferences.
Beanbag: As covered above — the foundation of most posed newborn setups.
Baskets and bowls: Lined with soft fabric and sized appropriately for the baby, baskets and bowls create contained, visually defined setups. Ensure any basket is structurally stable and cannot tip or flex under the baby’s weight.
Headbands and accessories: Simple, soft headbands, hats, and tie-back accessories add visual interest to face images without imposing. Avoid any accessory that puts pressure on the baby’s head or creates discomfort.
Parent ring/heirloom items: A wedding ring placed on a finger that’s barely bigger than the ring, a family heirloom wrapped near the baby — these personal props add individual meaning to images that cannot be replicated by generic studio props.
Where to buy newborn photography props: Kelly Moore, Kelby One, and specialist newborn photography prop suppliers (Sitter Club Props, Organic Newborn Props) are well-regarded in the professional community. Many photographers supplement commercial purchases with handmade or custom-commissioned wraps and props.
Making Your Own Props
Cheesecloth dyeing: Cheesecloth (available from grocery stores as cooking cloth) can be dyed using standard fabric dye in any colour. The open weave accepts dye unevenly, creating the natural tonal variation that makes cheesecloth wraps visually interesting. For custom colour matching to a specific session palette, home cheesecloth dyeing is the most cost-effective approach.
Knitted and crocheted props: Knitted bonnets, cocoons, and wraps are among the most popular newborn photography props — soft, comfortable, and aesthetically warm. Many photographers commission hand-knitted props from independent Etsy sellers at modest cost.
DIY Newborn Photography at Home
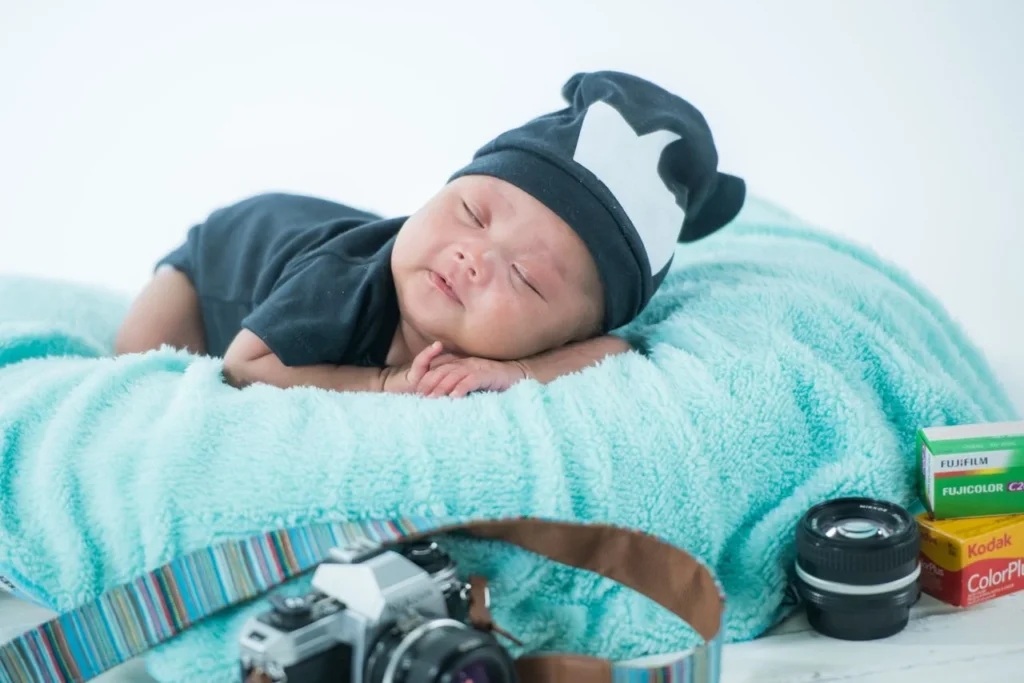
Parents who want to document their newborn at home without a professional session can achieve genuinely lovely results with some basic guidance. The images may not match a specialist’s styled studio work, but the authentic, personal character of home newborn photography has its own distinct value.
The fundamental setup: Find the best natural light in your home — typically a window in a room facing away from direct sun, where the light is bright but soft. Late morning or early afternoon typically provides the best indoor natural light in most homes. Place the baby near (but not directly in) this light, on a clean, soft surface — a bed or sofa with neutral-coloured covers, a blanket on the floor — and photograph with your phone or camera from directly above (overhead flat lay) or at the baby’s level.
The critical timing: Photograph when the baby is most likely to be deeply asleep — typically 30–60 minutes after a feeding. A peacefully sleeping baby is far easier to photograph beautifully than an alert or fussy one.
Keep it simple: The temptation with DIY newborn photography is to try to replicate the elaborate setups of professional studios. A simple composition — baby on a plain, soft surface in good natural light, with one or two meaningful props at most — produces better results than an ambitious setup that cannot be properly staged without specialist equipment and experience.
Safety above everything: DIY newborn photography should only involve positions the baby can naturally achieve — lying on back, side-lying with support, or tummy time (only when awake and supervised). Never attempt the composite poses of professional newborn photography without training — they look simple but require specialist knowledge to execute safely.
How Much Does Newborn Photography Cost?
Newborn photography pricing varies by market, photographer experience, and what is included in the session fee. Understanding the typical pricing structure helps parents budget appropriately.
Typical Pricing Structure
Mini or basic session (30–60 minutes, digital files only, 5–10 images): $150–$350 / £100–£250
Standard session (2–3 hours, 20–30 edited digital images): $350–$700 / £250–£500
Premium session (3–4 hours, 30–50+ edited images, print credit, album or wall art included): $700–$1,500+ / £500–£1,000+
Birth photography (full birth attendance, editing of 50–100 images): $1,500–$3,500 / £1,000–£2,500
Why Is Newborn Photography Expensive?
The combination of time investment (2–4 hours of shooting plus significant editing time), specialist training cost (safety certification and posing workshops), specialised equipment (beanbag, professional lighting, extensive prop collection), and the limited booking capacity (most newborn photographers can accommodate only 4–8 sessions per month while maintaining quality) justifies pricing significantly above generic portrait photography rates.
Photographers who charge very low rates for newborn photography frequently lack the specialist training that safety requires — this is a genuine concern, not a marketing argument. Safe newborn posing requires investment in training that must be reflected in pricing.
Who Pays for Newborn Photography?
Newborn photography is almost always commissioned and paid for by the parents, occasionally by grandparents as a gift. Unlike real estate or commercial photography where the business pays, newborn photography is a personal purchase.
Many photographers offer payment plans — allowing the session fee to be paid in instalments with a deposit securing the booking — which makes professional newborn photography more accessible to families on tight budgets.
For the complete framework for pricing newborn photography as a business, our guide to pricing photography services covers the cost-of-doing-business calculation that determines sustainable rates.
How to Start a Newborn Photography Business
Training First, Business Second
The most critical aspect of starting a newborn photography business is obtaining proper safety training before photographing any paying client. This is not negotiable — newborn photography involves placing babies in positions that require specialist knowledge of baby physiology, respiratory development, and safe handling.
Reputable training routes include:
- Online training courses from recognised newborn photography educators (Kelly Brown, Ana Brandt, Smitha Gujjar are among the most respected names in the industry)
- In-person workshops and mentoring — working alongside an experienced newborn photographer during real sessions, observing technique and safety practices in action
- Formal certification programmes from NAPCP or APNPI, which include safety components alongside photography technique
Many photographers also practice safe posing techniques using weighted dolls before working with babies — this is genuinely valuable for developing muscle memory around posing movements before applying them to real infants.
Building Your Portfolio Without Clients
Before booking paying clients, you need a portfolio of newborn images demonstrating safe posing, appropriate lighting, and competent editing.
Practical routes to building an initial portfolio:
- Trade sessions with parent friends: Offer a complimentary or heavily discounted session to friends with newborns in exchange for permission to use the images in your portfolio
- Model calls: Post on local parent Facebook groups or community boards offering complimentary sessions to willing families
- Collaborate with other newborn photographers: Second shooting or assisting an established newborn photographer provides portfolio images from real professional sessions
Essential Business Setup
Website with portfolio: Your website must show newborn photography specifically — general portrait work will not demonstrate the specialist competency that newborn clients are looking for. Build a dedicated newborn gallery of 20–30 images showing a range of poses, wraps, lighting styles, and subject ages within the newborn window.
Insurance: General photographers’ liability insurance must include an explicit extension for baby and newborn photography. Many standard photography insurance policies exclude or limit coverage for newborn work given the specialist nature. Verify your policy explicitly covers newborn sessions before taking any paying clients.
Contracts: Newborn photography contracts should include specific language around session expectations, safety policies, parent consent for all posing techniques, image usage rights, and payment terms. Specialist newborn photography contract templates (from photographers’ legal resources like The Law Tog) are worth investing in.
Pricing from the start: Price at a sustainable level from the beginning. Starting very low to attract clients creates expectations that are difficult to reset as you raise prices, and prevents the business from being financially viable from the outset.
Marketing Your Newborn Photography Business
Maternity clothing boutiques and prenatal yoga studios: Partnerships with businesses serving pregnant women provide access to your exact target client at the ideal booking moment — during pregnancy, before the baby arrives.
Midwife and doula relationships: Midwives, doulas, and birth centres that serve families who care about birth experience often extend that care to the newborn period. Building relationships within this community generates warm referrals.
Local parent Facebook groups and Instagram: Parents with newborns are highly active on social media and in local parent community groups. Sharing portfolio images with location tagging and parent permission generates organic local discovery.
Referral incentives: An existing client who refers another family is your highest-quality lead. A referral credit or complementary mini-session offered as a thank-you for referrals rewards the behaviour you most want to encourage.
Further Reading
For the portrait photography skills that underpin newborn work — lighting principles, working with subjects, and building a portrait practice — our portrait photography guide covers the foundational craft. For the broader photography business framework that newborn photography sits within, our guides to marketing your photography business, pricing photography services, and how to make money with photography cover the complete business picture. For the softbox lighting equipment central to studio newborn photography, our guide to lightbox and softbox photography covers setup and equipment selection in detail.
For external professional resources, the National Association of Professional Child Photographers (NAPCP) is the primary professional organisation for newborn and child photographers — their safety guidelines, certification programme, and community are the most credible resources in the professional newborn photography space. The Association of Professional Newborn Photographers International (APNPI) also maintains safety standards and educational resources specifically for the newborn photography community.
Final Thoughts
Newborn photography occupies a unique position in the photography world — it is simultaneously one of the most commercially robust niches (consistent demand, high emotional value to clients, strong referral networks) and one of the most technically and ethically demanding specialties (safety training requirements, complex session logistics, specialist equipment, the irreplaceable nature of the subject). For parents, the value of professionally captured newborn images typically becomes more apparent with time rather than less — the photographs of a five-day-old baby are precious at the time and priceless twenty years later.
For photographers, newborn photography rewards those who approach it with genuine commitment to safety training and genuine care for the families they work with. The technical skills are learnable. The business is buildable. The ethical foundation — putting the baby’s wellbeing above any creative or commercial consideration — is not negotiable and not separate from success in this niche. The photographers with the strongest reputations and the fullest booking calendars in newborn photography are, without exception, also the ones with the strongest safety standards.

Charles is a passionate photographer and visual storyteller with a keen eye for capturing authentic moments and timeless emotions. Through here, he combines creativity, technical expertise, and a love for natural storytelling to create images that preserve life’s most meaningful memories. His work focuses on genuine connections, beautiful details, and the unique stories behind every photograph.