Sports photography is the most technically demanding genre most photographers will ever attempt. You are working with fast, unpredictable subjects in environments you cannot control, on a schedule determined entirely by the event, often under difficult and variable light. The margin for error is essentially zero — a peak moment missed or a focus error at the decisive instant cannot be recovered.
The photographers who consistently produce compelling sports images are not simply the ones with the most expensive gear. They are the ones who understand their autofocus system deeply enough to configure it for specific sports, who have studied the game well enough to anticipate moments before they happen, and who have developed the positional instincts to be in the right place at the right time before the action arrives.
This guide covers the complete picture: the gear that genuinely matters, the settings that produce sharp results, sport-specific technique, the anticipation skills that separate competent sports photography from exceptional sports photography, and a post-processing workflow scaled to high-volume sports shoots.
The Gear That Actually Matters
Camera Bodies: What to Prioritise
The two specifications that matter most for sports photography are burst rate (frames per second) and autofocus system quality. Everything else — resolution, video capability, weather sealing, screen quality — is secondary.
Burst rate determines how many images you capture per second in continuous shooting mode. At 10fps, you have ten chances to catch the exact peak of an expression, the precise moment a foot leaves the ground, the instant a ball meets a racket. At 3fps, you have three — and the decisive moment frequently falls between frames. For most sports, 10fps is the practical minimum; 20fps or higher (available on Sony A9 III, Canon R3, and Nikon Z9) is noticeably better for very fast action like motorsport, tennis, and martial arts.
Autofocus system quality — specifically the tracking algorithm, subject recognition AI, and how reliably the camera holds focus through obstructions and changing backgrounds — determines your sharp-frame percentage. Even at 20fps, a weak tracking system produces 20 soft frames per second. Modern mirrorless cameras from Sony, Canon, and Nikon have transformed sports photography through AI-based subject recognition that identifies and locks onto athletes, faces, and eyes with a precision that earlier phase-detection systems could not approach.
Full-frame vs APS-C for sports:
Full-frame sensors offer superior high-ISO performance — critical for indoor and evening sports where available light is limited. APS-C sensors provide an effective focal length multiplier (1.5x–1.6x depending on manufacturer) that extends your reach without changing lenses — a 400mm lens behaves like a 600mm equivalent on an APS-C body. Both are valid; the choice depends on whether your primary challenge is light or reach.
Recommended bodies by tier:
| Tier | Body | Key Strength |
|---|---|---|
| Entry-level | Canon R10, Sony A6700, Nikon Z50 | Good AF, 11–30 fps, APS-C reach advantage |
| Mid-range | Canon R6 II, Sony A7 IV, Nikon Z6 III | Full-frame, excellent high-ISO, strong tracking |
| Professional | Sony A9 III, Canon R3, Nikon Z9 | 20–120 fps, best-in-class tracking AI, pro build |
The Canon R6 Mark II and Sony A7 IV represent the best value intersection of burst rate, autofocus quality, and high-ISO performance for most sports photographers who aren’t shooting professionally for major outlets.
Lenses: Reach and Aperture
The focal length you need depends on the sport, your proximity to the action, and the venue size. As a general framework:
| Sport / Situation | Recommended Focal Length |
|---|---|
| Courtside basketball, ringside boxing | 24–70mm f/2.8 or 35mm/50mm prime |
| Pitch-side football (soccer), rugby | 70–200mm f/2.8 |
| American football (press box distance) | 300–400mm f/2.8 or 100–400mm f/4.5–5.6 |
| Athletics, cricket (boundary) | 300–500mm f/5.6 |
| Wildlife-adjacent sports (horse racing, motor racing) | 400–600mm |
| Indoor arenas (hockey, gymnastics) | 70–200mm f/2.8 (essential for aperture) |
The 70-200mm f/2.8 is the most versatile single sports lens available. It covers a useful focal range, the constant f/2.8 aperture handles indoor venues and evening games, and the image quality from modern versions (Canon RF 70-200mm f/2.8L, Sony 70-200mm f/2.8 GM II, Nikon Z 70-200mm f/2.8 S) is exceptional. If you can own only one lens for sports, this is it.
The 100-400mm zoom (Sigma 100-400mm Contemporary, Tamron 150-500mm, or manufacturer equivalents) extends reach significantly at the cost of a slower maximum aperture (f/5.6 at the long end). For outdoor daytime sports where light is plentiful, the aperture limitation matters far less — and the reach advantage is substantial.
Fast super-telephotos (300mm f/2.8, 400mm f/2.8) are the tools of professional sports photographers shooting for newspapers and agencies. They deliver the reach of a telephoto zoom with the aperture of a portrait prime — essential for maintaining 1/1000s+ shutter speeds in challenging indoor and evening light. The cost (typically $6,000–$15,000 new) reflects their performance. Renting for specific important events is a practical alternative to purchasing.
Settings That Produce Sharp Sports Images
Shutter Speed: The Most Critical Variable
Shutter speed is the single most important exposure variable in sports photography. It determines whether moving subjects are frozen sharp or motion-blurred.
General minimum shutter speeds by sport:
| Sport / Subject | Minimum Shutter Speed |
|---|---|
| Golf swing (at address) | 1/500s |
| Running athlete | 1/500s–1/800s |
| Football/soccer action | 1/800s–1/1000s |
| Basketball, handball | 1/1000s |
| Tennis (ball in flight) | 1/1500s–1/2000s |
| Cycling, motorsport | 1/1000s–1/2000s |
| Birds in flight (comparable challenge) | 1/2000s+ |
These are minimums for acceptably sharp results. When light allows, shoot at faster speeds — 1/2000s for running athletes gives you significantly more latitude than 1/800s and eliminates any risk of motion blur even in the most extreme action.
The exposure conflict: Fast shutter speeds require more light. In a bright outdoor setting, 1/2000s at f/2.8 ISO 400 is achievable without difficulty. In a dimly lit indoor arena at the same shutter speed, you may need ISO 6400–12800 to maintain correct exposure — at which point the quality of your camera’s high-ISO performance becomes critical. Know your camera’s usable ISO ceiling before shooting in challenging conditions.
Shooting Mode: Use Shutter Priority or Manual
Shutter Priority (S or Tv mode) is the default recommendation for most sports shooting situations. Set your minimum shutter speed, let the camera select the aperture, and use Auto ISO with a ceiling set at your camera’s clean usable maximum (typically ISO 6400 for APS-C, ISO 12800 for modern full-frame). The camera maintains your minimum shutter speed and adjusts exposure automatically as light changes across the venue.
Manual mode is preferred by experienced sports photographers in conditions where the light is consistent and predictable — outdoor midday events with no cloud cover, stadium lighting that doesn’t vary. Dial in your exact settings once and they don’t shift between frames. The risk: if a cloud passes over or you move to a shadowed area of the venue, your exposure drifts without correction.
Avoid Aperture Priority for sports — if the camera selects a shutter speed below your minimum to maintain your chosen aperture, you get motion blur in every frame before you notice.
Continuous Shooting Mode
Always shoot in high continuous burst mode during active sports moments. You are not trying to fire one shot at the perfect moment — you are creating a sequence of images from which the best frame is selected. The decisive moment in sports is often adjacent to the frame you predicted, not exactly on it. Burst mode gives you the coverage to find it.
One practical consideration: continuous burst at 10–20fps generates enormous card write volumes. Use fast cards (V60 or V90 rated UHS-II cards for maximum write speed) to avoid the camera’s buffer filling and pausing your burst mid-action. Check your specific camera’s buffer depth and know how many frames at maximum quality it can sustain before slowing.
Autofocus Configuration for Sports
This is where most photographers leave significant performance on the table. Simply switching to AF-C is not enough — the configuration of the AF system determines tracking performance as much as the system itself.
AF-C (Continuous AF): Non-negotiable for sports. As discussed in our guide to AF-S vs AF-C autofocus modes, AF-C keeps the focus system active and tracking throughout your burst sequence.
Tracking sensitivity / subject motion: On Sony, this is called “AF Tracking Sensitivity.” On Canon, it’s “Tracking Sensitivity” in the AF menu. On Nikon Z cameras, it’s “Subject Motion” under “Focus mode.” Set this lower (more “sticky”) when your subject is against a complex or changing background — the camera holds onto your subject even when other elements pass through the frame. Set higher when subjects are isolated against clean backgrounds and you want the camera to respond quickly to new subjects.
Acceleration / Deceleration tracking: Available on many modern bodies, this tells the predictive algorithm how to handle subjects that change speed suddenly. Set higher for sports with explosive acceleration (sprinting, martial arts, basketball); lower for more consistently-paced sports.
Subject recognition: On current Sony, Canon, and Nikon mirrorless systems, enabling AI subject recognition (human body, eyes, faces) and combining it with AF-C dramatically improves tracking reliability. The system identifies the athlete’s eye and locks tracking onto it rather than relying on contrast information alone. Enable this setting before every sports shoot.
Back-button focus for sports: Assigning autofocus to the AF-ON button (back-button focus) separates focusing from capture — your thumb maintains continuous tracking, your index finger fires the shutter independently. This setup prevents the camera from re-acquiring focus when you lift the shutter button between bursts. For sports, this is the preferred configuration for most experienced photographers.
Positioning and Anticipation: The Skills That Make the Difference
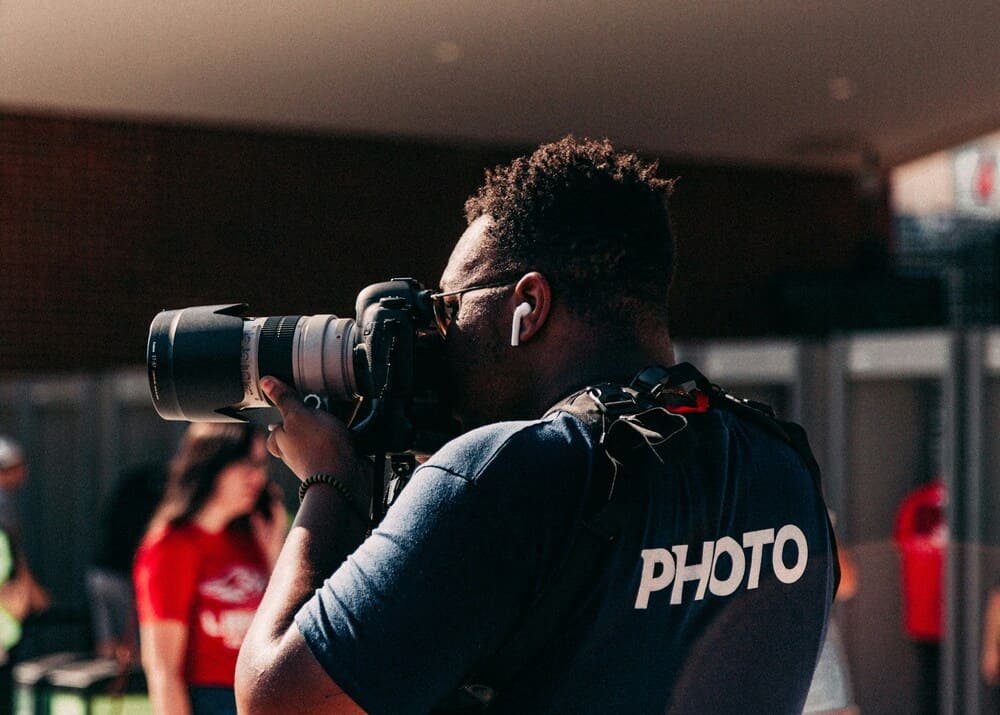
Technical settings are the foundation. Positioning and anticipation are what elevate sports photography from technically correct to genuinely compelling.
Know the Sport Before You Shoot It
This cannot be overstated. A photographer who understands the game — where the ball typically goes after a set piece, when a dribbler is likely to make a move to the basket, at what moment during a tennis rally the most dramatic body positions occur — is operating with foreknowledge that a technically superior but tactically ignorant photographer cannot replicate.
Before shooting any new sport:
- Watch several complete events on video, paying attention to where the decisive moments tend to occur
- Identify the recurring patterns of play — sequences of events that reliably precede peak action
- Note which positions in the venue give you the best sightlines to those recurring moments
- Understand the rhythm of the sport — the fast-slow-fast patterns that tell you when to be ready and when to rest
A football photographer knows the wide receiver routes and positions themselves for the catch before the ball is thrown. A basketball photographer knows the drive-to-the-basket sequence and pre-focuses on the lane before the guard makes their move. This foreknowledge is not learnable in a single game — it accumulates over repeated exposure to the same sport.
Positioning Principles
Get as close as the access rules allow. Physical proximity produces emotional connection in sports photography. A face filling the frame during a moment of intense concentration conveys something a wide shot from the upper stands cannot. Within whatever access constraints you’re working under, always seek the closest permitted position to the action.
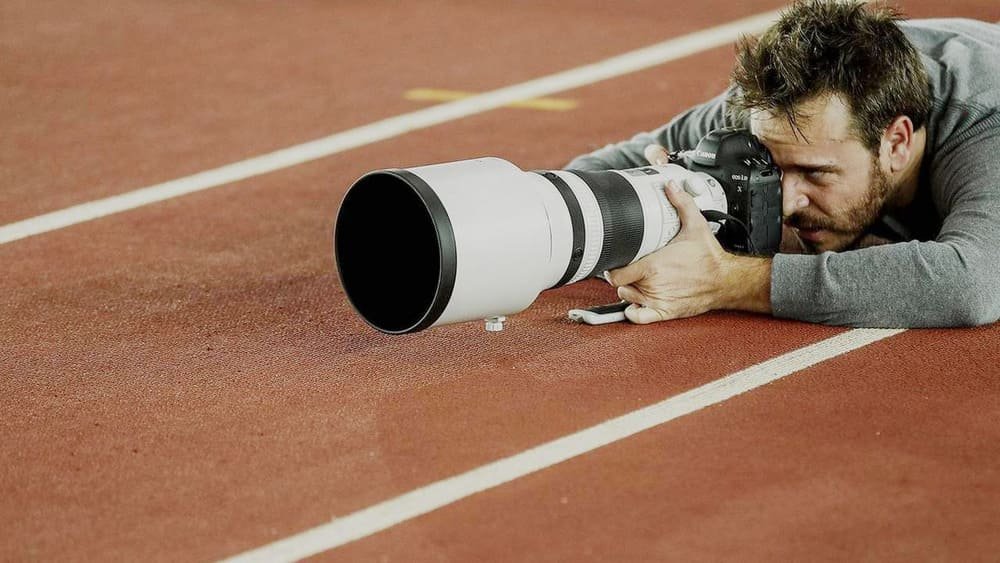
Shoot from low. Camera position at athlete level — crouching, sitting on the ground, or lying prone — produces dramatic, immersive perspective. Shooting from standing height looking down at athletes makes them appear smaller and the action less intense. Get low whenever the venue and subject allow.
Anticipate, don’t react. The time lag between your brain recognising a decisive moment and your finger pressing the shutter is approximately 0.2 seconds — plus your camera’s mechanical lag of 0.05–0.1 seconds. At the moment your finger moves, you are already photographing something that happened a quarter of a second ago. Pre-focus on the space where the action will be, hold that focus locked, and fire slightly before the peak moment rather than at it.
Change positions between moments. The best single position for one type of play is not the best position for every play. Between action sequences, move to cover different aspects of the event. A football photographer might work the end zone for touchdowns, the line of scrimmage for defensive plays, and the sideline for wide receiver routes — not staying locked to one position for the whole game.
Work the light. Outdoor venue position relative to the sun determines the quality of your images as much as any other single factor. When possible, position yourself with the sun broadly behind you — illuminating the athletes’ faces rather than creating backlit silhouettes. At indoor venues with fixed lighting, identify which parts of the court or field are more evenly lit and position accordingly.
Sport-Specific Technique
Football (Soccer)
The primary challenge in football is the enormous playing area relative to your position. You cannot cover the whole pitch from one location — you must predict where the action will concentrate and position accordingly.
Set pieces (corners, free kicks near goal) are the most predictable high-action moments. Position yourself at one post during corner kicks — you have a clear sightline to both the delivery and the near-post action, and the goalkeeper’s positioning often creates the most dramatic compositions.
Goal mouth action is the highest reward position but requires patience — most of each game occurs elsewhere. If you have a second position available, use a remote camera (triggered wirelessly) behind the goal net for a perspective unavailable from pitch side.
Follow-the-ball: For much of a football match, track the ball and prefocus on the space around it. When a winger receives a cross-field ball, they will typically either shoot, dribble forward, or cross — prepare for all three by maintaining a focus lock on their position.
The celebration: The moment immediately after a goal — the scorer’s expression, the sprint toward teammates, the pile-up — is often more compelling than the goal itself. Switch to a wider focal length immediately after a goal to capture the celebration context as well as the individual emotion.
Basketball
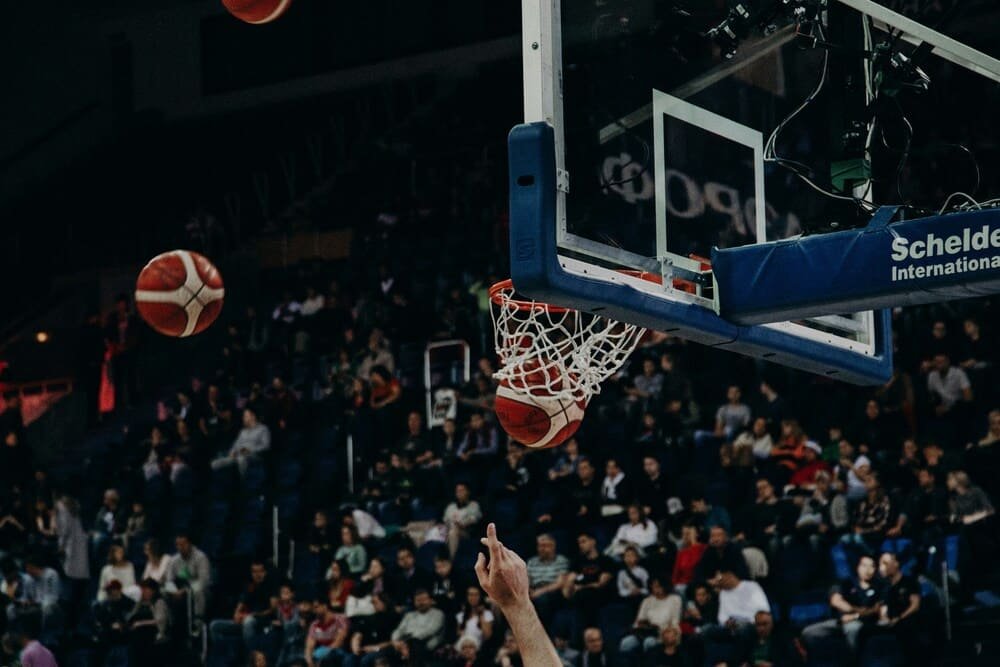
Basketball is shot from courtside at much closer range than most outdoor sports, which means shorter focal lengths (24-70mm or 70-200mm) and correspondingly more forgiving light requirements in modern arenas with bright LED court lighting.
The key position: Under the basket at one end, looking along the baseline. This gives you sightlines to layups, dunks, and defensive plays at that end, and mid-court action during fast breaks from the other end.
Timing the jump: The peak of a jump — the highest point before descent — is where body positions are most dramatic and faces most expressive. Learn the timing of your shutter lag relative to when you visually see the peak, and fire slightly before what looks like the apex.
Emotion beyond the play: Bench reactions, coach expressions during critical moments, player interactions during timeouts — these contextual images add narrative depth to a basketball gallery beyond pure action shots. Allocate time to these moments between plays.
Arena light management: Professional arenas use bright LED lighting that is much more even and flicker-free than the older fluorescent or sodium vapour systems. Set your shutter speed at a value that avoids flicker (typically 1/500s works reliably with modern LED courts). College and amateur arenas vary enormously — test at the start of each game to identify the correct flicker-free shutter speed.
American Football
The scale of American football fields means long glass is mandatory. A 300mm or 400mm prime, or a 100-400mm zoom, is the minimum for covering midfield action. A 600mm gives you reach to the far end zone.
Sideline access zones are strictly controlled at most levels. Know the rules for your specific event — typically you must remain outside the 5-yard or 10-yard line zones during play and can only approach the line during dead-ball situations.
The backfield read: American football has defined roles and predictable play patterns if you understand the formations. Identify the primary runner or receiver before the snap and pre-focus on that player. The play typically develops toward your pre-focused subject within two to three seconds of the snap.
The hit: The tackle or block — where bodies make contact — is the peak moment in football photography. Focus on the ball carrier during the run and hold that focus through contact. The moment of impact produces the most dramatic body positions but also the most unpredictable composition — shoot a sustained burst through the entire tackle sequence.
The pile: After a tackle or fumble recovery, the dog-pile of players creates abstracted compositions of hands, helmets, and jersey numbers that make compelling detail images within a sports gallery.
Track and Field / Athletics
Athletics presents some of the cleanest backgrounds in sports photography — typically a track or field with a plain background beyond — and highly predictable action locations.
Sprint events: Position at the finish line for the most dramatic compositions (athletes fully extended, leaning into the tape) or at the curve exits where body lean and racing dynamics are most visible. Pre-focus the exact finish line point and fire as the first athlete enters the frame — the decisive moment at the finish is too fast for reactive shooting.
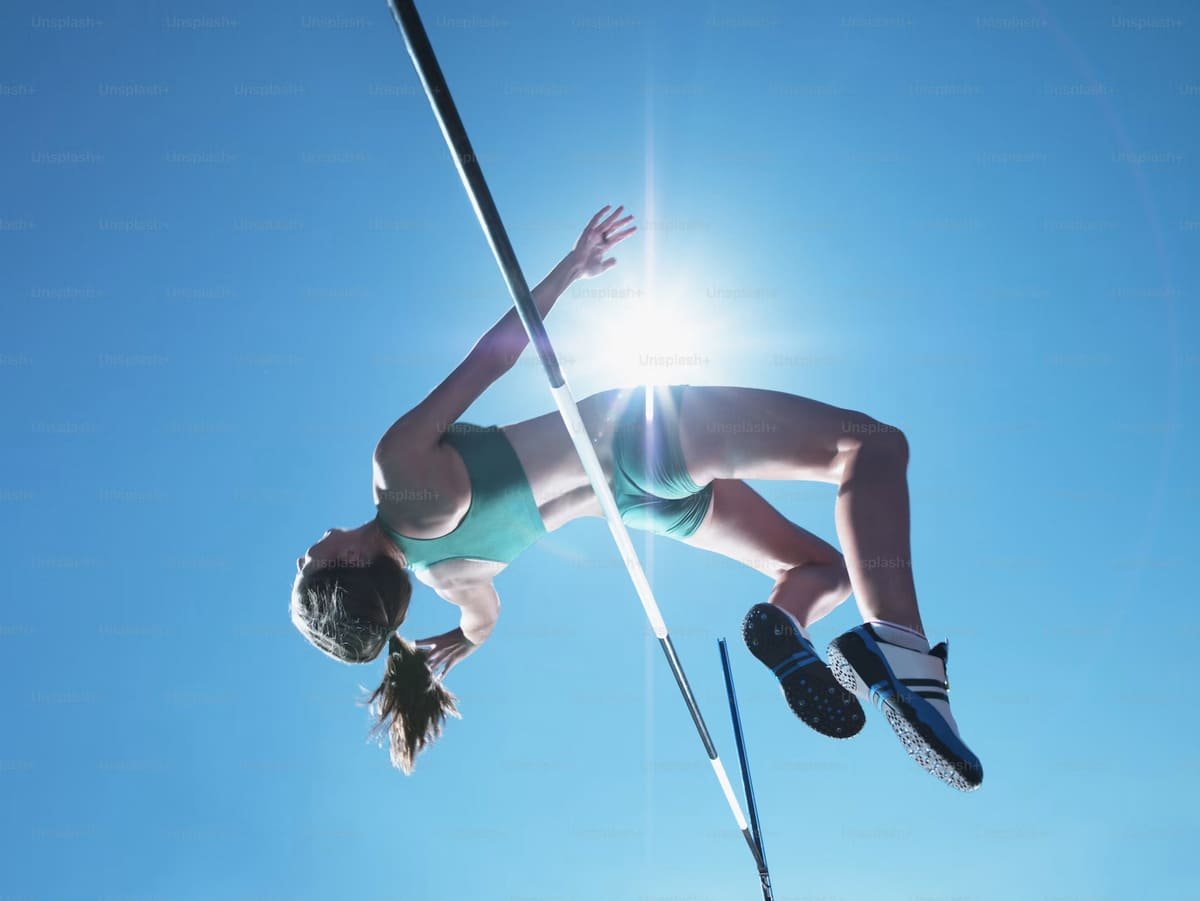
Jumping events: Long jump and high jump have clearly defined peak positions — the mid-air extension at the top of the arc. Learn the timing pattern from watching the warmup jumps and apply it when scoring attempts begin.
Throwing events: Shot put, hammer, discus — the moment of release is the peak of each throwing event. The sequence of windup, release, and follow-through is visible over about half a second. Start your burst as the throw begins and carry through release.
Distance running: The best distance running images typically come from corners of the track (where body lean and group dynamics are visible), at water stations (dramatic interaction between runners and aid), or at physically challenging moments like steep hills in cross-country events. A 300-400mm lens allows you to isolate individual runners from the pack.
Tennis
Tennis is among the most difficult sports to shoot well — the ball moves faster than any autofocus system can reliably track, and the peak body positions during serve and groundstroke last for fractions of a second.
Key shots: The serve — specifically the point of ball contact at the peak of the toss — is the most dramatic shot in tennis. The full backswing extension, the ball visibly in the air, and the racket at contact all occur within about 0.3 seconds. Learn the timing of specific players’ service motions and fire through the entire sequence to capture contact.
The grunt: Many top tennis players produce visible expressions of intensity at the moment of maximum effort. Telephoto compression from behind the baseline captures both the shot and the expression simultaneously.
Net play: Volleys and overhead smashes at the net produce the most compressed, dramatic perspectives when shot from the opposite end. Most tournament photography positions don’t allow this, but for club or open event coverage it’s worth requesting.
Ball-in-frame: Including the ball in the image adds context that tells the viewer what sport they’re looking at and what moment is captured. At 1/2000s+, the ball is frozen. At 1/500s, it produces a distinctive motion trail. Both are valid aesthetically; choose based on whether freeze or motion blur serves the image better.
Winter Sports
Winter sports present specific technical challenges beyond the action itself.
Cold weather battery management: Lithium-ion batteries lose charge capacity significantly below 0°C. Carry spare batteries in an inside pocket close to your body and swap them out proactively rather than waiting for low battery warnings. A battery that shows 40% in warmth may drop to 10% within minutes in extreme cold.
White balance in snow: Snow reflects blue sky light and produces a blue cast in auto white balance. Set a custom white balance using a grey card in snow conditions, or shoot RAW and correct in post. Skiers and snowboarders in blue-cast snow look unnatural — the correction matters.
Exposure with snow: Snow is highly reflective and fools the camera’s metering into underexposing — the camera tries to make the bright snow a middle grey. Apply positive exposure compensation (+0.7 to +1.3 EV) or use manual mode to keep snow white while preventing the athlete from becoming a dark silhouette against it.
Skiing and snowboarding composition: Capture the spray of snow — at gates during slalom, during turns in powder conditions — as a compositional element. The spray indicates speed, direction change, and technique in a way that a clean shot alone does not.
Managing High-Volume Shooting: Workflow Essentials
A full day of sports coverage generates thousands of files — sometimes 5,000 to 10,000 images from a sustained multi-event shoot. Without a systematic workflow, the post-processing becomes unmanageable.
Step 1: Immediate Backup
Before culling or editing anything, back up all cards to two separate drives. Sports shoots frequently end late with travel involved — the risk of losing a single card in transit is too high to leave images on cards only.
Step 2: Fast and Ruthless Culling
The cull rate for sports photography is more aggressive than any other genre. From 5,000 frames, you might deliver 80–150 images. The technical rejection criteria are strict: reject any image with focus error (sharp jersey, soft face), motion blur on the primary subject, eyes closed, obstructed composition, or peak moment missed. Most burst sequences produce one usable frame — identify it and reject the rest.
Use Lightroom’s star rating system on a numeric keypad for speed: 1 = reject, 5 = keep. Aim for a first cull at roughly one second per image — technical quality assessment only, no aesthetic judgement.
Step 3: Selective Editing
Develop a base preset for the venue’s lighting conditions and apply it to all selects at once. Then make targeted corrections: white balance shifts caused by mixed arena lighting, exposure adjustments for back-lit athletes, noise reduction on high-ISO frames.
Sports images rarely need heavy retouching. Sharpening, exposure correction, and noise reduction account for the majority of time. Colour grading is typically minimal — accuracy is more valued than stylisation in most sports photography contexts, particularly editorial work.
Step 4: Export and Distribute
For editorial work, news agencies and publications typically require JPEG files at 72–300 DPI depending on their use. Caption and metadata (sport, athletes’ names, event details, date, location) are required fields — embed them at export or add them in Lightroom’s metadata panel before delivery.
For direct athlete or family sales, print-resolution JPEGs delivered via an online gallery (Pixieset, ShootProof) allow download and ordering in one interface.
Ethics and Access in Sports Photography
Credentials and Access
Most professional sports venues require media credentials for photographers to access designated photography positions. Credentials are issued by the venue, team, or event organisation through a formal application process — typically requiring proof of assignment from a media outlet, a portfolio, and in some cases a background check.
For local and amateur sports, access is typically informal — approach the event organiser or coach in advance, explain what you are doing, and confirm any restrictions. Most local sports organisations welcome quality documentation of their events, particularly if you are willing to share images.
Image Rights and Releases
For editorial use — newspapers, magazines, editorial websites — images of athletes at public sporting events can typically be used without model releases under fair use and editorial privilege provisions. For commercial use — advertising, promotional materials, products — releases from identifiable individuals are required regardless of the public nature of the event.
For youth sports photography, additional caution applies. Many schools and youth organisations have photography policies that restrict who can photograph minors at events and how those images can be used. Always verify local policies before shooting youth sports events.
Further Reading
For the autofocus configuration detail that directly applies to sports photography, our dedicated guide to AF-S vs AF-C autofocus modes covers the settings in depth — including back-button focus setup, tracking sensitivity, and subject recognition configuration. For managing the high-ISO shooting that indoor and evening sports demand, our guide to ISO and digital noise management covers in-camera and post-processing strategies. For the lens selection decisions that determine your reach in outdoor sports, our photography lenses guide covers focal length, aperture, and first and third-party options in detail.
For external resources, the sports photography section of Sports Shooter — a long-running community and portfolio site for sports photographers — offers peer critique, gear discussions, and access to working professionals’ perspectives. Canon’s sports photography learning hub provides manufacturer-specific technique articles that are consistently well-written and practical.
Final Thoughts
Sports photography rewards the prepared over the talented. The photographer who arrives knowing the venue, understanding the game, has configured their autofocus correctly, and is positioned based on where the action will be — rather than where it currently is — will consistently outperform the technically superior photographer who arrives unprepared and reacts.
The decisive moment in sports almost always belongs to the photographer who anticipated it. Build your technical foundation until settings become automatic — then invest your full attention in the game in front of you, and let the technique take care of itself.

Charles is a passionate photographer and visual storyteller with a keen eye for capturing authentic moments and timeless emotions. Through here, he combines creativity, technical expertise, and a love for natural storytelling to create images that preserve life’s most meaningful memories. His work focuses on genuine connections, beautiful details, and the unique stories behind every photograph.