The camera records what the human eye cannot hold — and nowhere is this more dramatically true than at night. A ten-second exposure on a tripod at the edge of a lake reveals the Milky Way arching overhead with a clarity and colour that no human eye sees in real time. A thirty-second city exposure transforms moving traffic into rivers of light. A single flash pulse illuminates a subject against a dark sky in a way that creates images with no daytime equivalent.
Night photography is one of the most technically demanding and creatively rewarding genres available. The darkness that makes it challenging is also what makes the results distinctive — images that could not have been made in daylight, capturing a version of the world that most people never see.
This guide covers the complete range of night photography: the gear and settings that apply across all night work, and the specific techniques for each major night subject — the night sky and Milky Way, star trails, cityscapes and light trails, blue hour, light painting, and night street photography.
What Is Night Photography?
Night photography encompasses any photography made primarily or entirely in darkness or very low ambient light — after civil twilight (approximately 30 minutes after sunset) through to before civil twilight in the morning. Within that broad definition, several distinct disciplines exist with different subject matter, different techniques, and different equipment requirements.
Landscape with night sky: The natural environment photographed under stars, the Milky Way, or moonlight. Requires dark-sky locations, careful planning around moon phase and atmospheric conditions, and long exposures that reveal celestial detail invisible to the naked eye.
Astrophotography: The more specialist end of night sky photography, targeting specific celestial objects — star clusters, nebulae, galaxies, planets — often using tracking mounts to compensate for Earth’s rotation during extended exposures. This guide covers introductory astrophotography; deep sky astrophotography with tracking mounts and stacking software is a specialist discipline beyond its scope.
Star trails: Extended exposures of 20 minutes to several hours that record the apparent movement of stars across the sky as the Earth rotates — producing circular arc patterns centred on Polaris (the North Star) in the northern hemisphere.
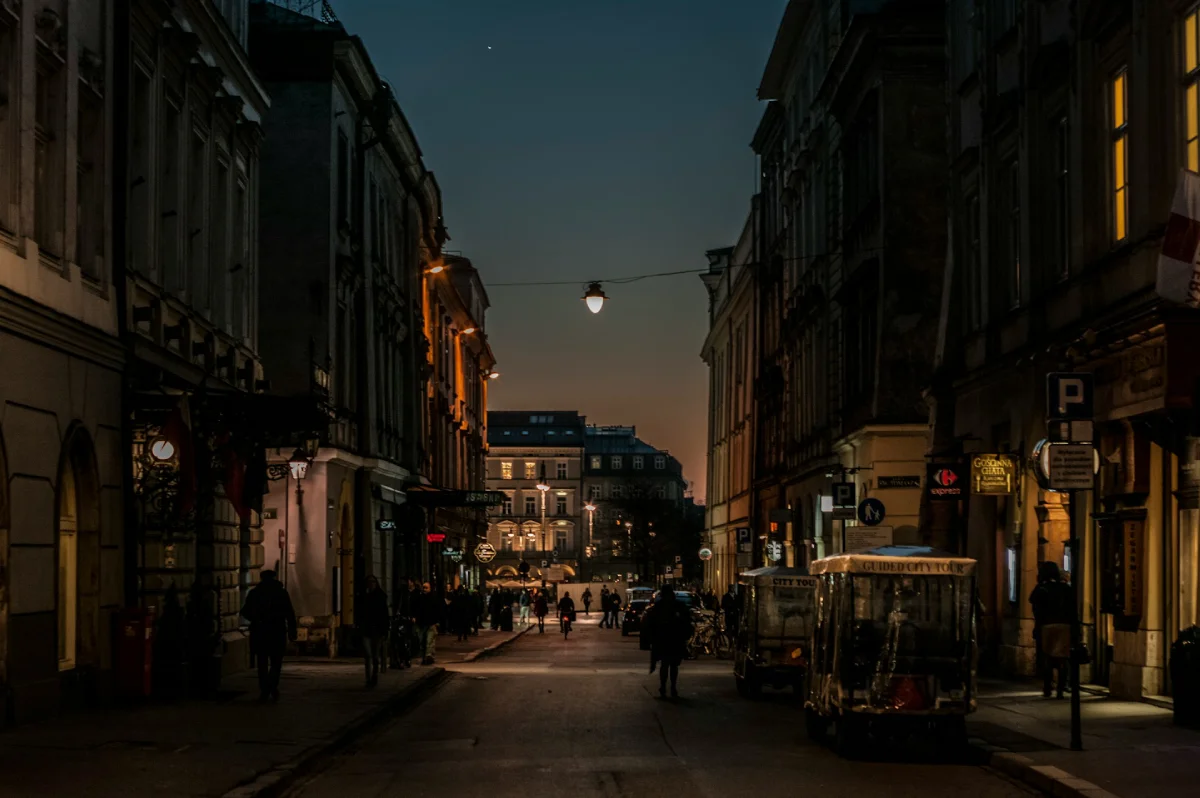
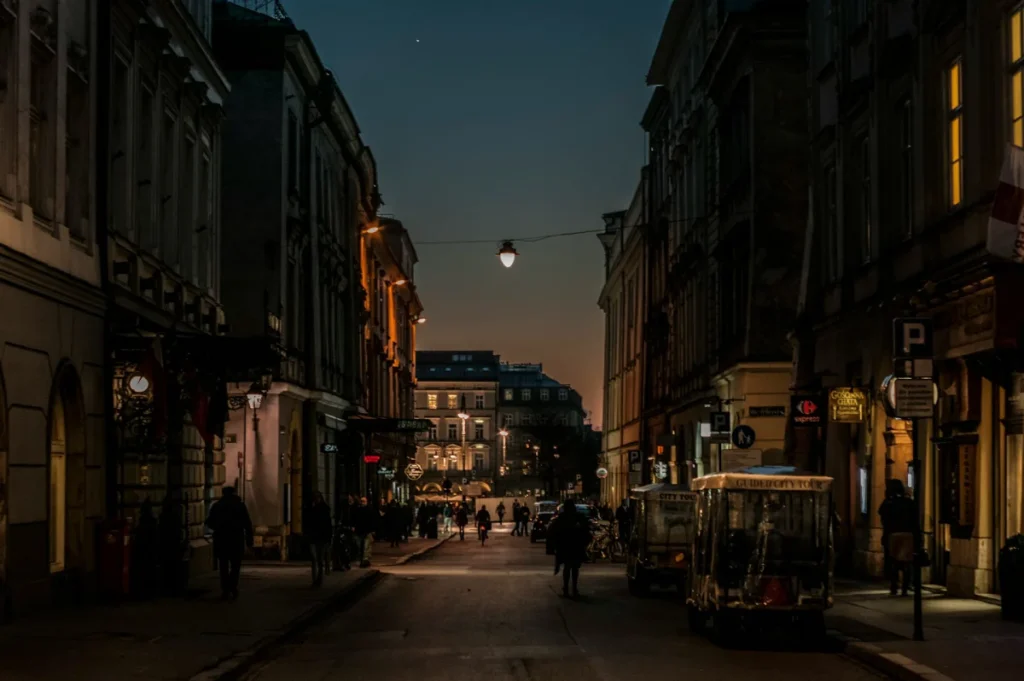
Urban nightscapes and cityscapes: Cities at night photographed from elevated positions, bridges, or street level — capturing the patterns of artificial light, the reflections in wet streets, the geometry of illuminated architecture.
Light trails: Long exposures (typically 8–30 seconds) that capture the movement of vehicles through an urban scene as continuous streaks of white (headlights) and red (taillights) light.
Blue hour photography: The period immediately after sunset (and before sunrise) when the sky transitions through deep blue tones — providing a natural colour balance between the blue ambient sky and warm artificial lighting that is uniquely beautiful.
Light painting: Using a handheld light source — a torch, LED wand, steel wool spinner, or sparkler — to paint light into an image during a long exposure in complete darkness or near-darkness.
Night street photography: Documenting human life in urban environments after dark — using available ambient light from streetlamps, signs, and shop windows to illuminate candid moments.
Essential Gear for Night Photography
Camera Body
Any camera with manual exposure control (manual mode, shutter priority, or at minimum aperture priority with ISO control) can shoot night photography. That said, certain characteristics matter significantly more at night than in daylight:
High-ISO performance: Night photography regularly requires ISO 1600–6400 or higher. Full-frame sensors with their larger photosites produce cleaner high-ISO results than APS-C or smaller sensors — the difference is meaningful and visible at the magnification levels where night photography quality is evaluated. For serious night photography, a full-frame sensor is worth the investment.
RAW file capture: Every night photography image should be shot in RAW. The editing latitude required — significant noise reduction, white balance correction, exposure recovery from shots that are slightly dark or light — is far greater than in most daytime photography, and only RAW files provide sufficient bit depth for these adjustments without posterisation and banding.
Battery capacity: Cold temperatures reduce battery capacity significantly. Night photography sessions in cool or cold conditions require multiple fully charged spare batteries. Carry them in an inside pocket to maintain temperature between uses.
Recommended bodies for night photography: Sony A7 IV, Sony A7 III, Nikon Z6 III, Canon R6 Mark II — all offer strong full-frame high-ISO performance at accessible prices. The Sony A7S III, with its dedicated low-light architecture, is the specialist choice for extreme low-light and astrophotography at higher cost.
Lenses for Night Photography
What aperture for night photography? The widest available — f/2.8 as a practical minimum, f/2 or f/1.8 preferred for astrophotography and night sky work where maximum light transmission is essential. Each stop of additional aperture width halves the light required and halves the ISO needed for a given exposure — a meaningful quality difference at night.
Wide angle (14–24mm) for night sky: The standard focal length range for Milky Way and night sky landscape photography. A wide field of view captures large sections of sky in a single frame and allows shorter maximum shutter speeds before star trailing becomes visible.
Standard prime (35–50mm f/1.8) for city and street: Versatile for most urban night photography — fast enough for street work, wide enough for environmental context shots.
Telephoto for star trails and detail: Longer focal lengths (85–200mm) compress the apparent rotation of stars and produce more tightly curved trail arcs — useful for creative star trail compositions. Also valuable for isolating specific constellations or bringing the moon into compositional balance with landscape elements.
What lens is best for night sky photography? The Sigma 14mm f/1.8 Art and Tamron 17-28mm f/2.8 are both widely regarded as the best-value options. The Rokinon/Samyang 14mm f/2.8 is the budget choice — manual focus only but optically very capable for astrophotography at a fraction of the cost of autofocus alternatives.
Tripod and Support
A stable tripod is non-negotiable for night photography. Any exposure longer than 1/60s at moderate ISO in night conditions means any camera movement during the exposure creates blur. At exposures of 10–30 seconds for astrophotography or city light trails, even slight vibration from wind or ground movement creates visible blur.
Tripod requirements: Adequate height for your shooting position, sufficient weight/stability to resist wind movement, low-angle capability (for ground-level foreground elements), and a ball head that locks securely without drift under camera weight.
Additional stability measures:
- Use a remote shutter release (wired or wireless) to avoid touching the camera during exposure
- Enable electronic first curtain shutter or silent electronic shutter on mirrorless cameras to eliminate mechanical vibration
- On DSLRs, use mirror lockup — fire the mirror separately from the shutter and wait 2 seconds for vibration to settle before the exposure begins
- Hang your camera bag from the tripod's centre hook to increase stability in wind
Additional Night Photography Kit
Headlamp (red light mode): Essential for navigating in darkness and checking equipment without destroying your dark adaptation. A headlamp with a red light mode — which doesn’t affect night vision the way white light does — is standard kit for any night photography location shoot. Allow 20–30 minutes after switching off white lights for your eyes to fully dark-adapt.
Compass and navigation: For Milky Way photography, knowing the compass direction to the galactic centre and to Polaris is essential for pre-visualising compositions. The PhotoPills app (iOS/Android) is the most widely used tool among serious night photographers — it shows the exact position and arc of the Milky Way, sun, moon, and planets at any location on any date and time, overlaid on a compass and augmented reality view of your shooting location.
Star map applications: Stellarium, Sky Map, and the star map feature built into PhotoPills identify specific constellations, planets, and celestial objects in real time using your phone’s GPS and compass.
Dew heater: In cold or high-humidity conditions, dew forms on the front element of lenses during night shoots — particularly relevant for astrophotography sessions lasting several hours. A dew heater strap (a low-power electric heating element that wraps around the lens barrel) prevents condensation.
Night Photography Camera Settings: The Complete Reference
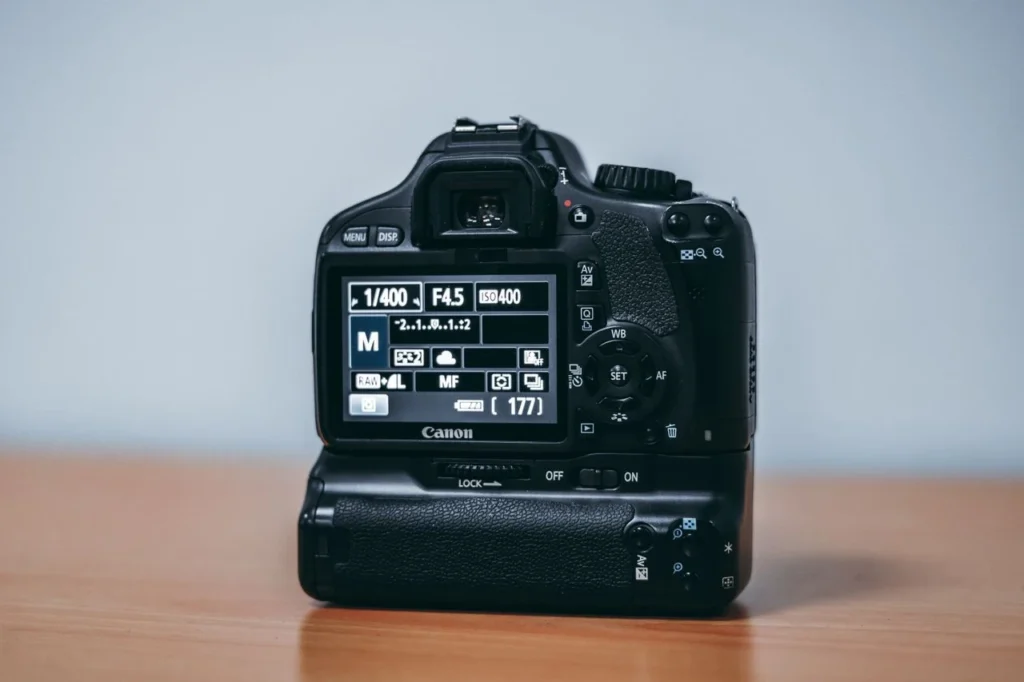
Understanding night photography settings is the most important technical foundation. Unlike daytime shooting where exposure parameters are relatively forgiving, night photography requires precise understanding of how each variable interacts.
The Exposure Triangle at Night
The same three variables control exposure at night as in daylight — aperture, shutter speed, and ISO — but the operating ranges are completely different, and the trade-offs are more severe.
Aperture: Use the widest aperture your lens allows as the starting position for most night photography. Stopping down reduces light dramatically and requires compensating with longer shutter speed (increasing star trailing risk) or higher ISO (increasing noise). The only reason to stop down in night photography is to avoid coma (a lens aberration where stars appear to have small tails pointing outward from the frame centre at very wide apertures — particularly visible in fast lenses at f/1.4 or f/1.8). Many astrophotographers use f/2.8 rather than f/1.8 specifically to reduce coma.
Shutter Speed: The critical variable that must balance two competing demands: long enough to achieve correct exposure at a low enough ISO, but short enough to avoid star trailing in astrophotography.
ISO: Night photography regularly requires ISO 1600–12800. The high-ISO performance of your specific camera body determines how high you can push before noise becomes unacceptably intrusive. Test your camera at ISO 3200 and ISO 6400 in controlled conditions to understand your personal quality ceiling before a night shoot.
Camera Settings for Night Photography: Situation Reference
| Subject | Aperture | Shutter Speed | ISO | Notes |
|---|---|---|---|---|
| Milky Way (Full Frame) | f/2.8 | 15–20s | 3200–6400 | Use the 500 Rule or NPF Rule. |
| Milky Way (APS-C) | f/2.8 | 10–13s | 1600–3200 | Crop factor reduces maximum shutter time. |
| Star Trails | f/4 | 30 min–3 hr | 400–800 | Or stack shorter exposures. |
| City Light Trails | f/8–f/11 | 8–30s | 100–400 | Use a narrow aperture for starburst effects. |
| Blue Hour Cityscape | f/8 | 2–15s | 100–400 | Bracket exposures for better dynamic range. |
| Night Portrait with Flash | f/2.8 | 1/60–1/200s | 800–3200 | Use rear-curtain sync for light trails. |
| Night Street (Available Light) | f/1.8–f/2 | 1/60–1/125s | 3200–12800 | Minimum shutter speed to freeze motion. |
| Light Painting | f/8–f/11 | 30s–10 min | 100–400 | Complete darkness required. |
| Moon (Full/Bright) | f/8–f/11 | 1/125–1/250s | 100–400 | The moon is very bright—treat it like daylight. |
The 500 Rule and NPF Rule for Astrophotography
The 500 Rule: The most widely cited guideline for maximum shutter speed before stars begin to trail visibly: divide 500 by your focal length. At 24mm: 500÷24 = approximately 20 seconds. At 14mm: 500÷14 = approximately 35 seconds.
The 500 Rule was developed for standard definition print output. For high-resolution full-frame sensors (24+ megapixels) where images are viewed at 100% or printed large, the 500 Rule allows too much trailing. The more accurate NPF Rule calculates based on sensor resolution, pixel pitch, focal length, and aperture:
Max shutter speed = (35 × aperture + 30 × pixel pitch) ÷ focal length
Most astrophotography apps (PhotoPills includes NPF Rule calculations) provide this automatically — you do not need to calculate it manually.
For APS-C cameras: Multiply your focal length by the crop factor (1.5× for Nikon/Sony, 1.6× for Canon) before applying the 500 Rule. At 24mm on a 1.5× crop body, the effective focal length is 36mm — maximum shutter speed = 500÷36 = approximately 14 seconds.
How to Focus in Night Photography
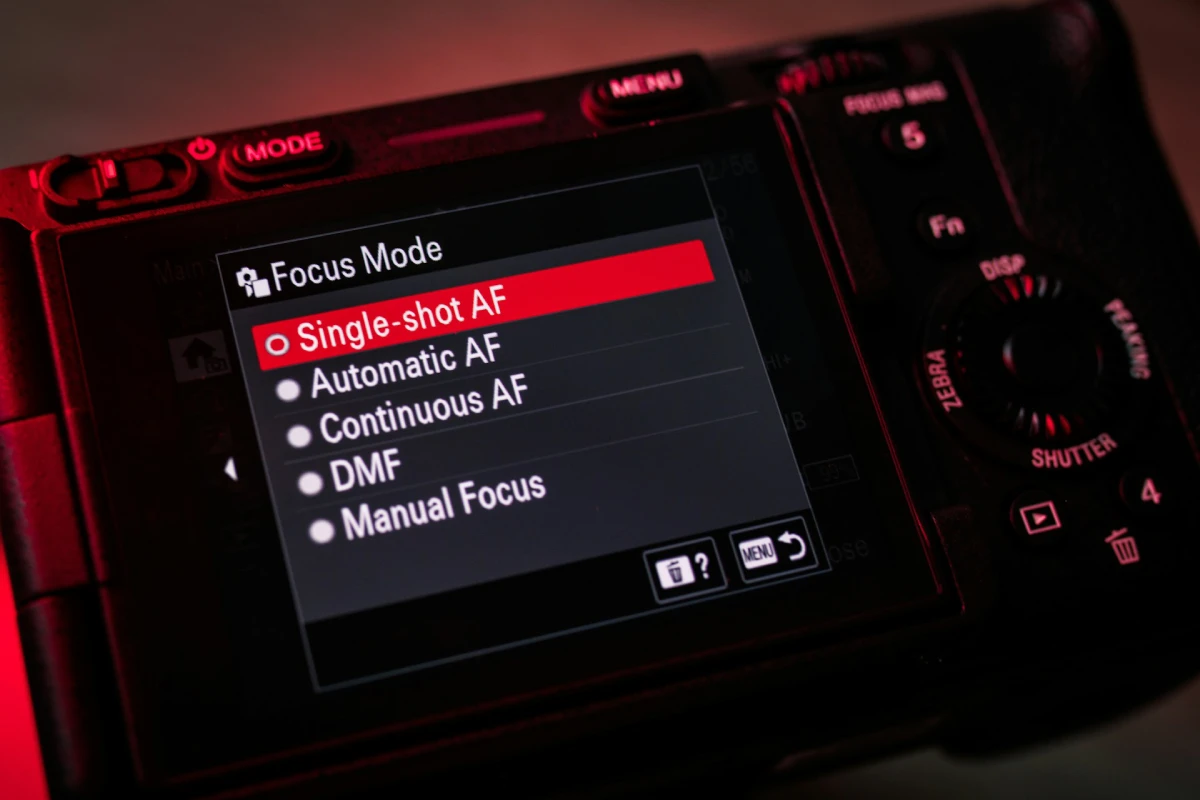
Focusing accurately in darkness is one of the most practically challenging aspects of night photography, and soft focus is the most common technical failure in beginner night images.
The Liveview Zoom Method (Most Reliable)
- Set your camera to manual focus mode
- Switch to Liveview and zoom to maximum magnification (10×) on the brightest available point — a bright star for astrophotography, a distant streetlight for city work, the moon if visible
- Adjust the focus ring slowly until the bright point is as small and sharp as possible — it should shrink to a single bright pixel at correct focus
- Lock the focus ring (most lenses have a friction setting, or apply a small piece of gaffer tape to prevent accidental movement)
- Verify focus by taking a test exposure at high ISO (ISO 6400) with a moderate shutter speed, then checking the result at 100% zoom on the camera's rear screen
Infinity Focus
Most lenses have an infinity focus mark (∞) on the focus ring — the point at which parallel light rays (from very distant subjects, including stars) converge at the focal plane. For very distant subjects in night photography, the infinity mark is the theoretical correct focus position.
Critical caveat: The infinity mark on many lenses is inaccurate. Temperature changes cause the lens barrel to expand or contract, shifting the true infinity focus point. Many photographers find that the true sharp infinity focus position is slightly before (not at) the infinity mark. Always verify with the Liveview zoom method rather than relying on the infinity mark alone.
Autofocus for Night Photography
Modern cameras with fast, sensitive autofocus systems (particularly Sony A7 IV, Canon R6 II, and Nikon Z6 III) can achieve focus in very low light — but their performance at night is inconsistent enough that manual focus remains the recommended approach for any critical work. For astrophotography, manual focus is always necessary — even the best autofocus cannot lock onto a star.
For urban night photography and night street photography where speed matters more than absolute precision, single-point AF aimed at the brightest available contrast edge (a lit sign, a brightly lit face, a neon-lit building edge) can work well on current mirrorless systems.
Night Sky and Milky Way Photography
Location Planning
Light pollution is the primary constraint on Milky Way photography. The galactic core — the brightest and most photographically spectacular region of the Milky Way — is only visible from dark skies free of significant artificial light glow.
Light pollution mapping: The Light Pollution Map and the Bortle Scale provide guidance on sky darkness at any location worldwide. Bortle Class 1–3 sites (the darkest available) produce the most dramatic Milky Way images; Bortle Class 4–5 (rural areas away from major cities) are workable; anything above Bortle 6 makes Milky Way photography impractical.
Finding dark sky locations: Dark Sky Finder, PhotoPills, and the International Dark-Sky Association’s list of certified dark sky parks identify accessible dark locations near you.
Milky Way Visibility: When and Where to Look
The Milky Way galactic core is a seasonal subject in most locations. In the northern hemisphere:
- Visibility: Late winter through autumn (February–October approximately)
- Peak visibility: The galactic core is highest in the sky and most dramatic between May and August
- Time of night: The core rises in the south-east after midnight in spring, earlier in summer
- Moon phase: Shoot during new moon ±3 days for maximum sky darkness — a full moon washes out the fainter Milky Way detail completely
Direction: The galactic centre is located in the direction of Sagittarius (the constellation), which rises in the south-southeast in the northern hemisphere. Knowing the compass direction of Sagittarius at your shooting time and location, combined with interesting foreground elements in that direction, is the foundation of Milky Way composition planning.
Milky Way Camera Settings
Start with: f/2.8, ISO 3200, 20 seconds for a full-frame camera at a dark sky location. Review the test shot histogram — the right side of the histogram should show some data (not too dark) but not be pushed hard against the right edge (not overexposed). Adjust ISO up or down from 3200 to place the histogram correctly.
The Milky Way appears dim in the preview but reveals dramatically after Lightroom processing — particularly adjusting clarity and texture, reducing highlights, and lifting the shadows carefully. Do not be discouraged by a dark, apparently unimpressive preview image from your first test shots.
Foreground Composition for Night Sky Images
The strongest Milky Way images are not images of the sky alone — they include compelling foreground elements that relate the scale of the sky to the landscape below. Abandoned buildings, distinctive rock formations, lone trees, bodies of water for reflections, mountain silhouettes — any foreground element that is both visually interesting and clearly readable as a silhouette at night.
Water reflection compositions deserve special note: a calm lake or river that reflects the Milky Way doubles the celestial impact of the image and creates a natural symmetry that is extremely powerful visually. Scout reflection locations during daylight to assess the quality of the reflection surface and the direction it faces.
Star Trails Photography
Star trails record the apparent rotation of the sky as the Earth rotates — individual stars leaving curved light trails across the frame over an extended exposure. The longer the exposure, the longer the trails.
Single Long Exposure vs Stacking
Single exposure (film method): Open the shutter for the full trail duration — 30 minutes to several hours depending on desired trail length. Requires full manual control including Bulb mode and a locking cable release or intervalometer. Sensor heat during very long exposures can produce fixed pattern noise and hot pixels. Most practical on older, cooler-running cameras.
Stacking method (recommended for digital): Capture a sequence of 30-second exposures (enough to fill the desired total duration — 120 exposures × 30 seconds = 60 minutes of trail) and merge them in post-processing using stacking software. Star Trails software (free) or Lightroom’s Photo Merge → Panorama function with “Light” blending mode merge the sequence into a single image with full-length trails. The advantages: sensor never overheats from a single exposure, each individual frame shows useful noise levels manageable in RAW processing, and any cloud-affected frames can be excluded from the stack.
Star Trail Composition
Polaris as anchor: Star trails in the northern hemisphere rotate around Polaris (the North Star), producing near-circular arcs centred on its position. Including Polaris high in the frame produces the most dramatic circular trail patterns. In the southern hemisphere, the same effect centres on the Southern Celestial Pole near Sigma Octantis.
Direction relative to Polaris: Trails near Polaris are short (tighter circles) for a given exposure duration. Trails 90 degrees from Polaris run horizontally across the frame. Both have different compositional applications.
Trail length calculation: With a 14mm lens and a 1-hour exposure, trail arcs span approximately 15 degrees of sky (the sky rotates 15 degrees per hour). Longer focal lengths produce shorter apparent trails for the same duration because each degree of arc covers more sensor area.
Final Thoughts
Light modifiers are not magic — they are tools. The photographer who understands why a softbox produces soft light, why a beauty dish flatters skin, and why a grid stops light spill will consistently outperform the one who owns the most gear. Start with one or two modifiers, learn them deeply, and expand from there.
The best portrait lighting is the kind that feels invisible — the viewer focuses entirely on the subject rather than wondering how the shot was lit. That’s what mastering your modifiers gets you.

Charles is a passionate photographer and visual storyteller with a keen eye for capturing authentic moments and timeless emotions. Through here, he combines creativity, technical expertise, and a love for natural storytelling to create images that preserve life’s most meaningful memories. His work focuses on genuine connections, beautiful details, and the unique stories behind every photograph.