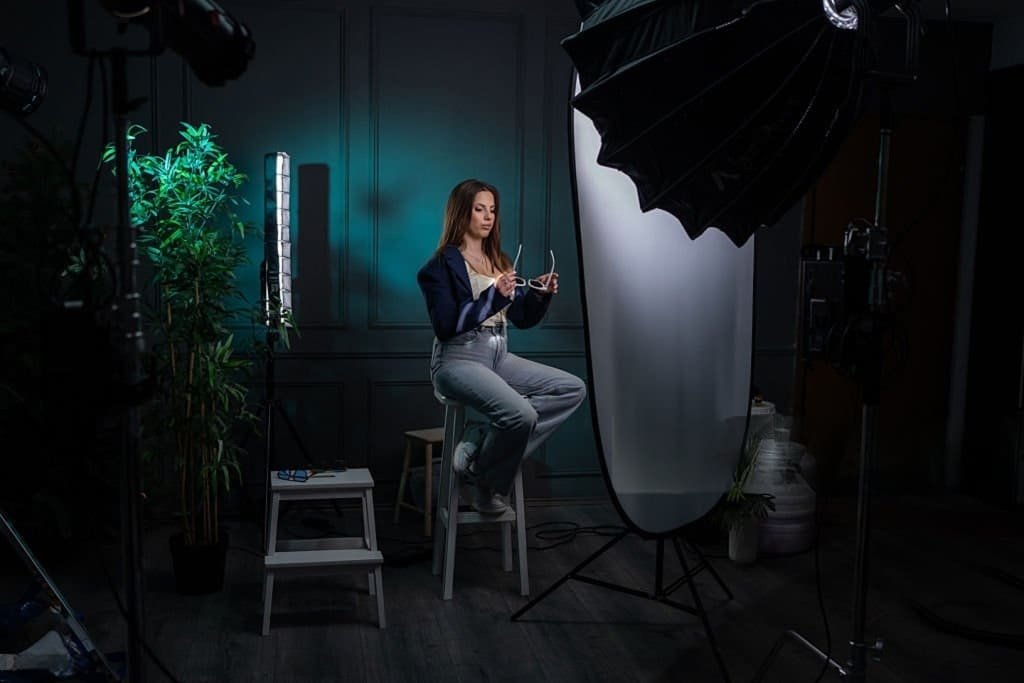
If there’s one skill that separates snapshots from professional portraits, it’s understanding light — not just where it comes from, but how to shape it. Light modifiers are the tools that give you that control. They sit between your light source and your subject, transforming raw, unflattering light into something that sculpts a face beautifully or adds dramatic tension to a frame.
This guide covers every major type of light modifier used in portrait photography, how each one behaves, when to use it, and how to set it up — whether you’re working in a studio or on location.
What Are Light Modifiers and Why Do They Matter?
A light modifier is anything that changes the quality, direction, size, or color of your light source. Without modifiers, a bare strobe or speedlight produces harsh, specular light — the kind that creates unflattering shadows under the nose, deep-set eye sockets, and blown-out highlights on foreheads.
Modifiers solve these problems by doing one or more of the following:
- Enlarging the effective light source — larger sources produce softer shadows
- Diffusing the light — spreading and scattering photons for a more even spread
- Directing the light — keeping spill off backgrounds or restricting to specific zones
- Reflecting light — bouncing it back onto a subject from a different angle
Understanding these four functions helps you choose the right tool for any situation rather than grabbing whatever is closest.
The Relationship Between Light Source Size and Shadow Quality
Before diving into specific modifiers, you need to understand the most fundamental concept in lighting: the apparent size of a light source relative to your subject determines shadow softness.
A bare speedlight is tiny. It produces hard, defined shadows. A 5-foot octabox placed 3 feet from a face appears enormous relative to the subject — it wraps light around the face from multiple angles simultaneously, creating shadows so soft they almost disappear.
This is why distance matters just as much as modifier size. Move that same 5-foot octabox to 15 feet away and it shrinks in apparent size — the light gets harder. The sun is physically 865,000 miles wide, yet it produces hard shadows because it’s 93 million miles away.
Keep this principle in your head with every modifier decision you make.
Types of Light Modifiers for Portraits
Softboxes
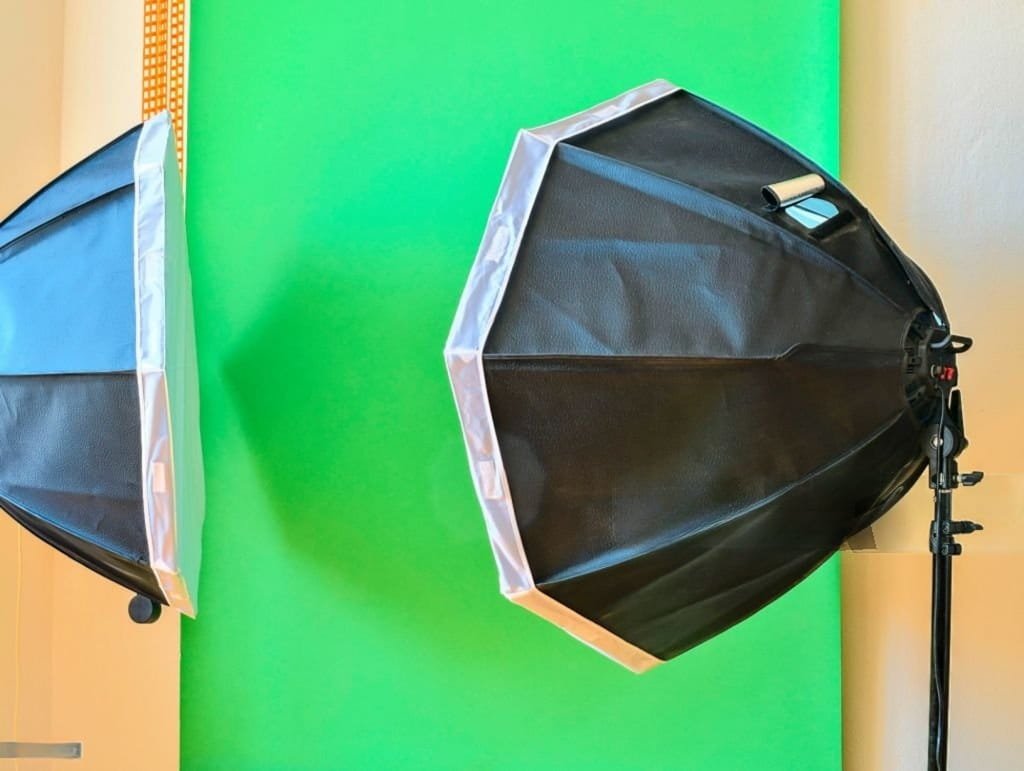
The softbox is the most versatile modifier in portrait photography. It consists of a fabric enclosure with a reflective silver interior and one or two layers of diffusion fabric across the front opening.
Light enters from the rear, bounces off the silver interior to become more even, then passes through the diffusion panel — emerging as a large, soft, directional source.
Sizes and what they do:
- Small (24×24 inches): Produces a slightly harder light. Good for dramatic headshots or when you want some shadow definition.
- Medium (36×48 inches): The most practical all-around size. Flattering for headshots and half-body portraits.
- Large (48×72 inches and above): Wraps light beautifully around the full body. Ideal for couples, three-quarter, and full-length portraits.
Shapes
- Rectangular softboxes mimic window light, which feels natural to viewers — our brains are conditioned to find window light flattering.
- Octagonal softboxes (octaboxes) produce a round catchlight in the eyes, which many photographers prefer for beauty and commercial work.
- Strip boxes (see below) are long and narrow, serving a very specific purpose.
Placement for a classic portrait: Position a medium softbox at 45 degrees to the subject, roughly at eye level or slightly higher. The near edge of the softbox should be just off-axis from the subject’s nose. This creates a Rembrandt or loop lighting pattern — the standard flattering setup for most portrait work.
Pro tip: Add a second diffusion layer (an internal baffle) if the light feels too “hot” in the center. Most quality softboxes include this as standard.
Umbrellas
Umbrellas are the fastest modifier to set up and one of the most affordable. They come in two fundamental types, and understanding the difference is essential.
Reflective umbrellas point the light source away from the subject, into the inside of the umbrella. The light bounces back toward the subject. Silver-lined versions produce a slightly harder, more contrasty result. White-lined versions are softer and more neutral.
Shoot-through umbrellas are made from translucent white nylon. The light fires through the fabric, turning the umbrella itself into a large, soft light source. The light spreads wider than a reflective umbrella and is generally softer, but you lose control — light spills in every direction, including onto your background.
When to choose an umbrella over a softbox:
- On-location shoots where fast setup matters
- When you need broad, even coverage (such as group portraits)
- Budget-conscious work where you need solid results without expensive gear
The main weakness of umbrellas is spill. If you need precise light control — keeping light off a background, for example — a softbox with a grid is a better choice.
Reflectors
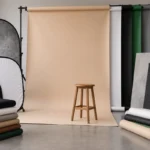
Reflectors are the most underrated tool in portrait photography, particularly for outdoor and natural light work. A 5-in-1 reflector kit costs under $30 and can completely transform the quality of your natural light portraits.
The surfaces and what they do:
- White: Produces soft, neutral fill light. Reduces shadows without adding warmth. The most natural-looking result.
- Silver: Produces a brighter, slightly harder fill. Adds a cool tone. Good for fashion and editorial work.
- Gold: Adds a warm, golden fill that mimics the quality of late afternoon sunlight. Extremely flattering for skin tones. Be cautious indoors — it can make skin look yellow under neutral ambient light.
- Black: Technically a "negative fill" — it absorbs light and deepens shadows on one side. Useful when you want more contrast and drama.
Outdoor portrait setup: Place your subject with the sun slightly behind and to one side (backlit or rim-lit). Position a silver or white reflector in front of and below their face, angled to bounce sunlight back up. This fills in facial shadows, adds a catchlight to the eyes, and eliminates the squinting problem that comes with shooting into bright sun.
Beauty Dishes
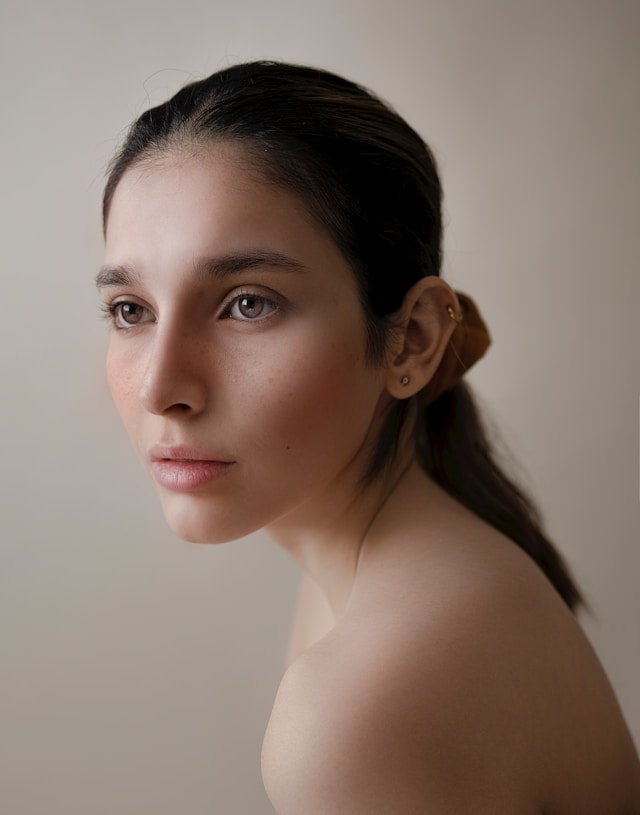
The beauty dish produces a light quality unlike anything else in a photographer’s toolkit — it sits somewhere between the softness of a softbox and the hardness of a bare strobe, with a characteristic “skin pop” that flatters complexion while maintaining definition.
It works by bouncing light from the strobe off a central deflector plate before it hits the parabolic dish surface and reflects forward. This creates an even, slightly wraparound light with a distinctive circular catchlight.
Standard sizes: 16–22 inches for tight headshots; larger 24–28 inch versions work better for three-quarter portraits.
Silver vs. white interior: Silver beauty dishes produce a punchier, more contrasty result. White interior versions are softer and more flattering for skin.
Classic beauty dish placement: Mount it slightly above eye level, pointed directly at the subject’s face — this is called “beauty lighting” or “butterfly lighting” (named after the butterfly-shaped shadow it creates under the nose). The dish should be close, around 2–3 feet from the subject’s face, for maximum effect.
Add a sock or grid: A fabric diffuser (“sock”) stretched over the front of a beauty dish softens it further. A grid restricts the light and prevents spill onto the background.
Strip Boxes
A strip box is simply a very long, narrow softbox — typically 12×48 inches or 12×36 inches. That unusual shape makes it useful for specific portrait applications you can’t achieve with a standard softbox.
Primary uses in portrait work:
- Rim lighting / edge lighting: Place one or two strip boxes behind and to either side of the subject to create a thin line of light along the edge of the body and hair. This separates the subject from a dark background dramatically.
- Hair lights: Position a strip box overhead and slightly behind the subject to add dimension and depth to hair.
- Fashion and editorial work: Two strip boxes flanking the subject (at 90 degrees to each side) create a sleek, high-fashion look with strong side lighting.
If you shoot fashion, fitness, or editorial portraits regularly, strip boxes are worth adding to your kit. For general portraiture, a medium softbox will handle most of what a strip box does less specifically.
Grids
A grid isn’t a standalone modifier — it attaches to the front of softboxes, beauty dishes, or bare reflectors to narrow the beam of light and control spill.
Without a grid, light spreads outward in all directions from the modifier’s face. With a grid, the honeycomb-shaped cells block off-axis light and channel it forward in a more focused cone.
When you need a grid:
- Shooting against a colored background that you want to keep clean and unaffected by your key light
- Dramatic, high-contrast portraits where you don't want light falling on the background
- When using multiple lights and you need to control which light hits which part of the scene
Grid density is measured in degrees — a 40-degree grid gives moderate control, a 20-degree grid is very tight. Start with a 40-degree grid and go tighter if you need it.
Practical Lighting Setups for Portraits
Setup 1: One-Light Flattering Headshot
Gear: Medium softbox (36×48 inches)
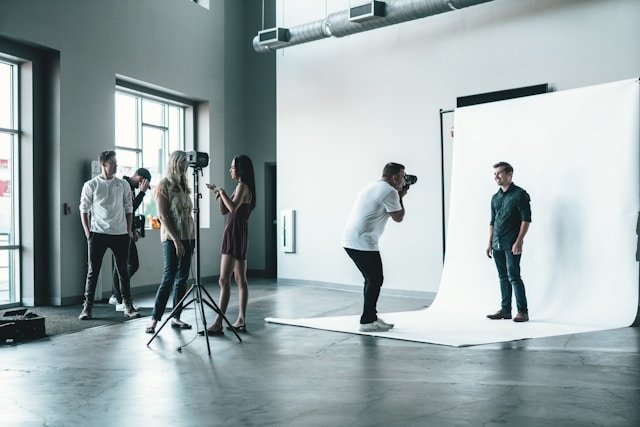
Place the softbox at 45 degrees to the subject, slightly above eye level, roughly 3 feet away. Position a white reflector on the opposite side at waist height to bounce a small amount of fill back into the shadow side of the face. This one-light setup produces a classic, professional result that works for headshots, LinkedIn portraits, and business photography.
Setup 2: Dramatic Fashion Portrait
Gear: Beauty dish with grid + strip box for rim light
Place the beauty dish directly in front of the subject, slightly above eye level. Set a strip box 90 degrees to one side and behind the subject for edge separation. Expose so the key light (beauty dish) is roughly one stop brighter than the rim light. Keep the background dark or black. The result is bold, high-contrast, and editorial.
Setup 3: Natural Window-Light Style (Studio)
Gear: Large rectangular softbox (48×72 inches) + black V-flat on the opposite side
Position the large softbox close to the subject (2–3 feet away) to maximize softness. Place a black foam board or V-flat on the opposite side to prevent any light from bouncing back into the shadows — this increases contrast and prevents the muddy, flat look you sometimes get from shooting in a small white room. The result looks like beautiful window light even in a windowless studio.
Combining Modifiers: Key, Fill, and Accent Lights
Most professional portrait setups use more than one light. The classic three-light setup involves:
- Key light: Your primary light source and the main modifier (softbox, beauty dish, etc.). This defines the shape of the face.
- Fill light: A secondary, less powerful light on the opposite side that reduces shadow depth. Often a second softbox at lower power, or simply a reflector.
- Hair/rim light: Usually a strip box or snoot positioned behind the subject to add depth and separation from the background.
A useful ratio to start with is 2:1 — the key light is twice as powerful as the fill. This creates visible shadow without being too dramatic. For moody, dramatic work, push it to 4:1 or higher.
Common Beginner Mistakes With Light Modifiers
Placing the modifier too far away. Moving a softbox from 2 feet to 6 feet away from a subject reduces its apparent size dramatically and hardens the light significantly. Keep it close.
Using the wrong size for the shot. A small 24-inch softbox for a full-length portrait will leave the lower body lit differently from the face. Match modifier size to how much of the subject you’re photographing.
Ignoring the background. Your modifier doesn’t just light the subject — it lights everything in front of it. Add grids, flags, or position lights carefully to avoid washing out your background.
Never experimenting. The only way to understand what a beauty dish actually does versus a softbox is to fire the same shot with both and compare. Build a habit of test shooting before clients arrive.
Gear Recommendations by Budget
If you’re starting out, a 43-inch shoot-through umbrella and a 5-in-1 reflector will get you 80% of the way there for under $50. As you grow, invest in a quality medium softbox — brands like Godox, Westcott, and Profoto all make reliable options at different price points. For more on what gear to prioritize as a portrait photographer, see our guide to portrait photography essentials on Haiku Photography Blueprint.
For further reading on light quality and modifier science, the Strobist lighting 101 series by David Hobby is one of the most thorough free resources available. Westcott’s photography lighting guide also covers modifier comparisons in depth.
Final Thoughts
Light modifiers are not magic — they are tools. The photographer who understands why a softbox produces soft light, why a beauty dish flatters skin, and why a grid stops light spill will consistently outperform the one who owns the most gear. Start with one or two modifiers, learn them deeply, and expand from there.
The best portrait lighting is the kind that feels invisible — the viewer focuses entirely on the subject rather than wondering how the shot was lit. That’s what mastering your modifiers gets you.

Charles is a passionate photographer and visual storyteller with a keen eye for capturing authentic moments and timeless emotions. Through here, he combines creativity, technical expertise, and a love for natural storytelling to create images that preserve life’s most meaningful memories. His work focuses on genuine connections, beautiful details, and the unique stories behind every photograph.