A plate of food sitting on a kitchen counter and the same plate photographed well are almost unrecognisable as the same meal. Food photography is the discipline of closing that gap — using light, composition, styling, and technique to make food look the way it tastes, or sometimes better than it actually looks in person.
It’s also one of the most commercially active photography niches. Restaurants need menu and marketing photography. Food brands need packaging and advertising imagery. Recipe bloggers and content creators need consistent, appetising photos for every post. Cookbook publishers need images that sell the book before anyone reads a single recipe. The demand is constant because food businesses never stop needing new images.
This guide covers the complete picture: the gear that actually matters, lighting setups for both natural and artificial light, styling and prop selection, composition principles specific to food, editing workflow, and how to build food photography into a paying business.
Why Food Photography Matters
Food photography does a job that is different from most other photography genres: it has to make the viewer want to eat the thing in the frame, right now, even though they cannot smell it, taste it, or touch it. Every decision in food photography — lighting, angle, styling, colour — serves that single goal.
This is why food photography sits at the intersection of art and direct commercial function in a way few other genres do. A beautiful landscape photograph doesn’t need to make anyone want to physically enter the scene. A beautiful food photograph that doesn’t trigger appetite has failed at its primary job, regardless of how technically accomplished it is.
For restaurants and food brands, the commercial stakes are direct: studies on online ordering behaviour consistently show that food photography quality significantly affects whether a dish gets ordered on a delivery app or menu. For food bloggers and content creators, photography quality is often the single biggest factor in whether a recipe gets clicked, saved, and shared. The craft has real financial consequences for the people who commission it — which is exactly why there is steady demand for photographers who do it well.
Choosing a Camera for Food Photography
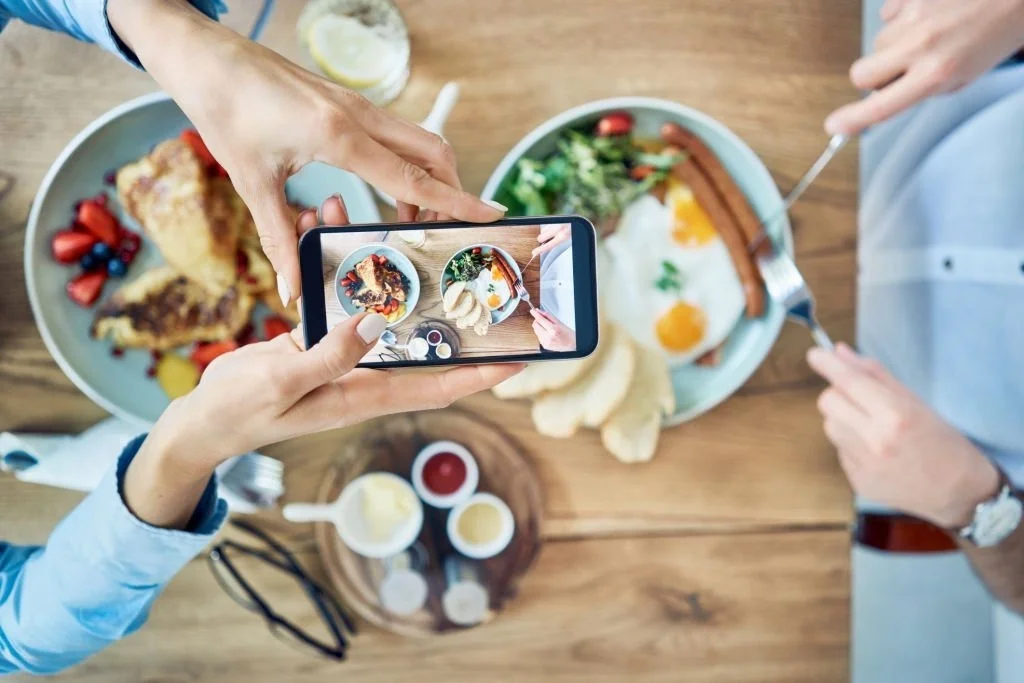
You do not need professional-grade equipment to start producing strong food photography — many accomplished food photographers and bloggers built their early portfolios on entry-level cameras or even smartphones. That said, certain camera characteristics genuinely matter more for food work than others.
Sensor size: A larger sensor (APS-C or full-frame) captures more light and produces better image quality in the often-dim conditions of indoor food shooting — restaurant interiors, home kitchens away from bright windows. Full frame is not required, but it provides more flexibility in challenging light.
Resolution: Aim for at least 20 megapixels. Food photography is frequently cropped tightly in post-production — isolating a detail, adjusting composition after the fact, or producing different aspect ratios for different platforms (square for Instagram, vertical for Pinterest, wide for a website banner). Higher resolution gives you more room to crop without losing quality.
Articulating screen: A flip-out or tilting rear screen is genuinely useful for food photography specifically, because much of the work happens from unusual angles — directly overhead, very low and close to the plate. Being able to see your composition without contorting yourself into the shot angle speeds up the whole process significantly.
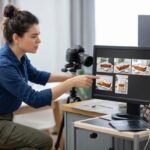
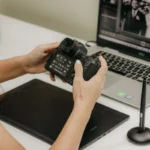
Tethering capability: For commercial food shoots with art directors or clients present, tethering your camera to a laptop or tablet (via USB-C or wireless tethering) allows real-time review of images on a larger screen — critical for catching small styling issues before the shoot wraps.
For most working food photographers, a current mid-range mirrorless body (Sony A7 IV, Canon R6 II, Nikon Z6 III, or Fujifilm X-T5 for APS-C) provides everything the genre demands. The camera body matters considerably less in food photography than lighting and styling — a well-lit, well-styled dish shot on a modest camera will outperform a poorly lit, poorly styled dish shot on professional equipment every time.
The Best Lenses for Food Photography
Lens choice shapes the character of food photography more directly than almost any other genre, because the working distances and angles are specific and repeated.
50mm prime (full frame) or 35mm (APS-C): The most versatile and widely recommended food photography lens. The natural perspective at typical food photography distances (1–2 feet from the plate) produces minimal distortion, the wide maximum aperture (commonly f/1.8) allows shallow depth of field for the blurred-background look common in food photography, and the lens is affordable, light, and sharp. This is the right starting lens for almost any food photographer.
Macro lens (90–105mm): Essential for extreme close-up detail work — the texture of a torn piece of bread, droplets of condensation on a cold drink, the layers visible in a slice of cake. A dedicated macro lens allows focusing much closer than a standard prime, revealing texture and detail invisible at normal shooting distances. Many food photographers consider a macro lens their second purchase after a standard prime.
Standard zoom (24-70mm f/2.8): Useful for commercial shoots where flexibility matters more than the absolute sharpest possible image — covering wide table-spread shots and tighter individual plate shots without changing lenses. Less common as a primary food photography lens but valuable for restaurant and event-style food coverage.
Tilt-shift lens (90mm): Used by advanced food photographers for two specific purposes — correcting the converging lines that occur when photographing from a slight angle (keeping vertical elements like a tall glass or bottle perfectly straight), and creating an extended, selective focus plane across a flat-laid composition. A specialist tool, not a starting purchase.
For most food photographers, the practical answer to “what lens should I buy first” is a 50mm f/1.8 (or 35mm f/1.8 on APS-C), followed by a macro lens once budget allows. For more on how focal length affects image character across photography genres generally, our photography lenses guide covers the complete picture.
Lighting Food Photography
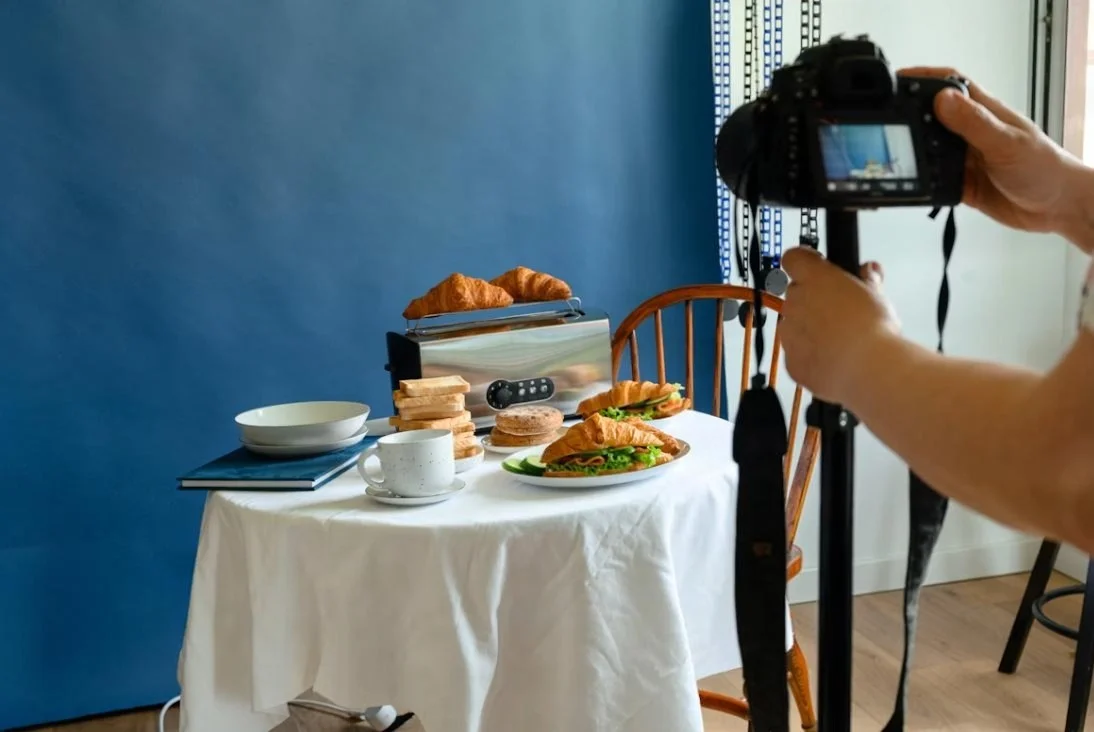
Lighting is the single most important technical factor in food photography. More than camera, more than lens, more than styling — the quality and direction of light determines whether a dish looks appetising or flat and lifeless.
Natural Light
Natural light is the most popular and often the most flattering light source for food photography, particularly for the bright, airy aesthetic that dominates food blogging and editorial food photography.
Setting up near a window: Position your shooting surface beside a large window, ideally one that receives bright but indirect light (north-facing windows in the northern hemisphere, or any window during overcast conditions, provide soft, even light without harsh direct sun). Direct sunlight through a window produces hard shadows and blown highlights that are difficult to control — diffuse it.
Diffusing harsh light: If your window receives direct sun, diffuse it with a sheer white curtain, a diffusion panel (a 5-in-1 reflector’s diffusion disc works well), or even a white bedsheet stretched across the window. This softens the light into the even, wrapping quality that flatters food.
Light direction: Side lighting (window to the left or right of the food) is the most commonly used direction in food photography — it reveals texture and creates dimensional shadows that make food look three-dimensional and tactile rather than flat. Backlighting (window behind the food, photographer shooting toward the light) produces a bright, glowing, editorial look popular for drinks, translucent foods, and bright, airy aesthetics — but requires more careful exposure management to avoid losing detail in the food itself.
Reflectors and bounce cards: A white foam board or reflector positioned opposite the window bounces light back into the shadow side of the food, filling in harsh shadows without eliminating the dimensional quality that makes the image interesting. Black foam board does the opposite — absorbing light to deepen shadows and increase contrast and drama, useful for moodier, darker food photography styles.
Artificial Light
Artificial lighting offers complete control over your shooting schedule and consistency — not dependent on weather, time of day, or window availability. Many professional food photographers shoot entirely with artificial light for exactly this reason.
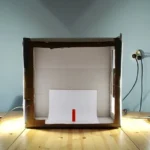
Softboxes: A medium softbox (24×36 inches or similar) positioned to mimic natural window light is the most common artificial lighting setup for food. Position it to one side, at a 45-degree angle to the food, slightly above the shooting surface. This produces the same flattering, dimensional quality as window light with complete consistency and control regardless of time of day.
Continuous LED panels: Increasingly popular for food photography because they allow you to see the lighting effect in real time (unlike flash, which requires a test shot to evaluate) and because they support video content creation alongside stills — relevant for food content creators producing both formats from the same setup. Adjustable colour temperature LED panels also allow precise matching to ambient restaurant lighting when shooting on location.
Avoiding direct flash: On-camera or direct flash pointed straight at food produces harsh, flat, unflattering light with hard shadows and unappetising highlights. If using flash, always diffuse it significantly (through a softbox or large diffuser) or bounce it off a large reflective surface, never fire it directly at the food.
Ring Lights for Food Photography
Ring lights have become popular among home cooks and content creators, particularly for video and quick social content, but they have real limitations for serious food photography. The light from a ring light comes from directly in front of and around the lens — producing flat, shadowless, evenly-lit images. This can work for quick, bright, casual content (the aesthetic common on TikTok and Instagram Reels for cooking content) but it eliminates the directional shadow and texture definition that makes food look genuinely appetising in considered photography.
For serious food photography — restaurant menus, cookbooks, brand advertising — a ring light is not recommended as a primary light source. It works adequately for quick social content where speed and convenience matter more than dimensional lighting quality, and it can serve a secondary fill role in combination with a primary directional light source. For anyone serious about developing food photography skills, learning directional lighting (window light or a single softbox) produces dramatically better results than relying on a ring light.
Composition and Styling for Food Photography
Camera Angles
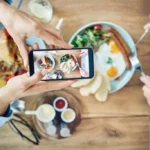
Overhead (flat lay): Camera positioned directly above the food, parallel to the table surface. Ideal for dishes with interesting top-down visual interest — pizzas, salads, table spreads with multiple dishes, flat-lay arrangements with props arranged around the food. This angle has become closely associated with food blogging and social media food content.
45-degree angle: The most commonly used angle in food photography generally. It shows both the top of the dish and enough of its side profile to convey height, layering, and dimension — a stack of pancakes, a burger, a bowl of soup with visible depth. This is the angle most people associate with “how food normally looks when about to eat it,” which makes it feel natural and appetising.
Straight-on / eye level: Camera positioned at the same height as the food, shooting directly across. Best for dishes where height and layering are the primary visual interest — a tall burger, a multi-layer cake, a stack of waffles, a cocktail with visible layers. This angle dramatically emphasises vertical structure.
Styling Principles
Garnish with purpose. Fresh herbs, a drizzle of sauce, a dusting of powdered sugar, a scattering of seeds — these finishing touches add visual interest, colour contrast, and the sense that the dish was just prepared. Avoid garnishing for its own sake; every element should look like it belongs on the plate and would plausibly be there when the dish is served.
Composition and the rule of thirds. As with any photography genre, placing the primary subject off-centre (at one of the rule-of-thirds intersection points) generally produces a more dynamic composition than dead-centre placement. For food specifically, leaving negative space on one side of the frame — for text overlay in commercial use, or simply for visual breathing room — is a common and effective practice.
Props that complement, not compete. Plates, cutlery, linens, and surface backgrounds should support the food without drawing attention away from it. Neutral-coloured plates (white, cream, soft grey, matte black) generally work better than heavily patterned or brightly coloured ones, which compete visually with the food itself. Linen napkins with visible texture, varied wood surfaces (light oak, dark walnut, weathered grey), and simple ceramic or stoneware add tactile interest without overwhelming the composition.
Movement and life. A completely static, perfectly arranged plate can look sterile. Introducing movement — a hand reaching into frame, a pour of sauce or coffee captured mid-action, steam rising from a hot dish, a fork lifting a bite away from the plate — adds the sense of a living moment rather than a museum display. This single technique is one of the most effective ways to elevate food photography from competent to compelling.
The “messy” principle. Slightly imperfect styling — a few crumbs scattered near the plate, a sauce smear, a casually placed napkin — often looks more appetising and authentic than a completely pristine, untouched-looking arrangement. Food that looks too perfect can paradoxically look less real and less appetising.
Backdrops and Surfaces
The surface beneath your food — and the backdrop behind it for angled or straight-on shots — significantly shapes the mood of the image.
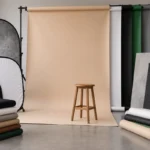
Wood surfaces: The most versatile and widely used food photography backdrop. Light wood (oak, pine) suits bright, airy, rustic aesthetics. Dark wood (walnut, ebony-stained) suits moody, dramatic, restaurant-style imagery. Weathered, distressed wood adds texture and character.
Painted boards and surfaces: Many food photographers create or purchase painted wooden boards in specific colours and textures — concrete-effect grey, soft pastel tones, deep matte black — to match specific brand or editorial aesthetics. These can be created at home with exterior-grade paint and a textured roller, or purchased from specialist suppliers.
Marble and stone: Cool-toned, clean, often associated with baking and dessert photography. Genuine marble is heavy and expensive; photography-specific marble-effect vinyl backdrops or contact paper on MDF boards achieve a similar look at a fraction of the cost and weight.
Fabric backdrops: Linen, canvas, or textured fabric provides a softer, more textured background for angled and straight-on shots, particularly effective for warmer, homier aesthetics.
DIY backdrop construction: Many food photographers build their own backdrop collection using inexpensive MDF or plywood boards (typically 24×24 inches or larger), finished with paint, wood stain, contact paper, or vinyl wraps. This is significantly more cost-effective than purchasing pre-made backdrops and allows exact colour and texture matching to specific shoot requirements.
Essential Food Photography Props
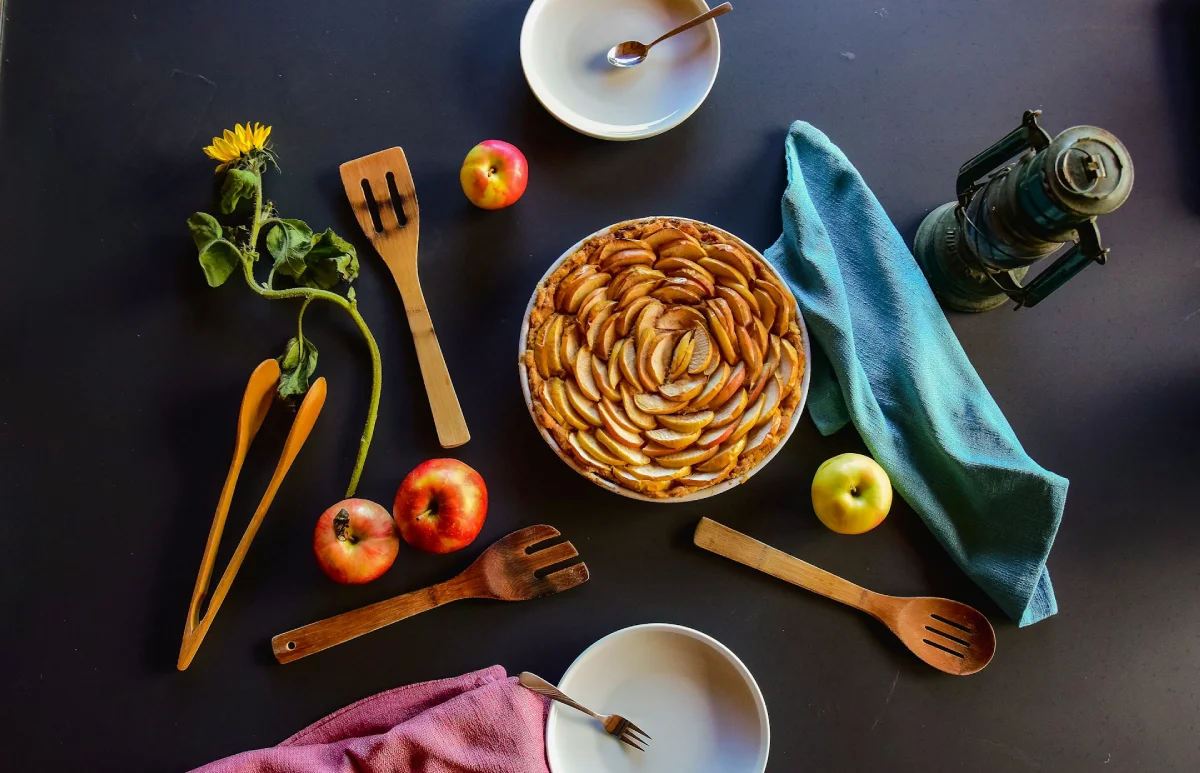
Building a basic prop kit allows you to style a wide range of dishes without constant new purchases:
- Neutral plates and bowls: White, cream, and matte black in a range of sizes
- Linen napkins: In a few neutral and muted colour tones — white, oatmeal, sage, charcoal
- Cutlery: Simple, classic designs in both silver-tone and matte black finishes
- Wood boards and surfaces: At least two or three different tones and textures
- Small bowls and ramekins: For sauces, garnishes, and side elements
- Linen or cotton table runners: Add texture without overwhelming the frame
- Fresh herbs: Kept on hand for garnishing — basil, thyme, rosemary, parsley, mint
- A spray bottle: For adding controlled water droplets to fresh produce, drinks, or surfaces for a fresh, just-prepared look
Editing Food Photography
Post-processing is where good food photography becomes great food photography. Even well-lit, well-styled images benefit significantly from careful editing.
Editing Workflow in Lightroom
Exposure and contrast: Start with overall exposure correction, then adjust contrast to add visual punch without losing detail in highlights or shadows. Food photography generally benefits from slightly elevated contrast compared to other genres — it enhances the sense of texture and depth that makes food look appetising.
White balance and colour accuracy: Correct white balance is critical in food photography — inaccurate colour can make food look unappetising or simply wrong (bread that reads too yellow, meat that reads too red or too grey, greens that look sickly rather than fresh). Use a grey card during the shoot for the most accurate baseline, then fine-tune to taste in editing. Warming the white balance slightly is a common stylistic choice that makes most food appear more inviting; cooling it slightly suits certain aesthetics (seafood, cold drinks, ice cream) where a cooler tone feels more appropriate to the subject.
Selective colour adjustment: Use the HSL (Hue, Saturation, Luminance) panel to enhance specific colours selectively — boosting the red of a tomato or the green of fresh herbs without oversaturating the entire image. Targeted adjustments look more natural than a global saturation boost, which tends to make images look artificial.
Sharpness and texture: Food photography rewards careful sharpening, particularly on the primary subject, to enhance the textures that make food look tactile and real — the crust of bread, the grain of a steak, the glossy surface of a sauce. Use Lightroom’s Texture and Clarity sliders selectively (often via a local adjustment brush or mask on just the food itself) rather than applying heavy global clarity, which can make backgrounds and props look unnaturally harsh.
Dodge and burn: Subtle brightening (dodging) of highlight areas — the glossy top of a sauce, the crisp edge of a crust — and subtle darkening (burning) of shadow areas adds dimension and draws the eye exactly where you want it within the frame.
Common Food Photography Editing Mistakes
Oversaturating colours. The temptation to make food “pop” by cranking saturation produces unnatural, artificial-looking results that undermine rather than enhance appetite appeal. Genuine, accurate, slightly enhanced colour reads as more appetising than oversaturated colour.
Over-sharpening. Excessive sharpening introduces visible noise and an artificial, crunchy-looking texture that doesn’t match how food actually appears. Sharpen selectively and check at 100% zoom before finalising.
Ignoring white balance. Food shot under mixed or warm artificial light without correction frequently reads with an unappetising yellow or orange cast. This is one of the most common and most damaging editing oversights in food photography.
Excessive retouching. Removing every crumb, every imperfection, every natural variation in a dish can make it look artificial and overly staged. As discussed in the styling section above, slight imperfection often reads as more authentic and appetising than clinical perfection.
Starting a Food Photography Business
Food photography is genuinely profitable as a specialised commercial niche — restaurants, food brands, food bloggers, and cookbook publishers all represent consistent sources of paid work for photographers who develop strong food photography skills.
Building Your Portfolio
Before pursuing paid work, build a portfolio specifically focused on food photography — not a general portfolio with a few food images mixed in. Potential clients hiring for food photography want to see evidence of specific expertise in lighting, styling, and food-specific composition.
If you don’t have client work yet, create your own: cook or source dishes specifically for photography practice, style and shoot them with the same care you would bring to a paid commission, and build a cohesive portfolio of 20–30 strong images that demonstrate range (different cuisines, different lighting setups, different styling aesthetics) while maintaining a consistent quality level and recognisable visual style.
Finding Food Photography Clients
Approach local restaurants directly. Many independent restaurants, particularly smaller establishments, have outdated or amateur photography on their menus, websites, and social media. A polite, professional approach — offering a discounted introductory rate, or in some cases trading photography services for a meal credit while building your portfolio — can open doors that cold outreach to larger established brands cannot.
Connect with food bloggers and content creators. Food bloggers frequently need photography support, either for their own content or for sponsored brand partnerships where professional imagery is required. Building relationships within local food blogging and content creator communities generates referral opportunities.
Approach food and beverage brands. Packaged food brands, beverage companies, and meal kit services regularly commission food photography for packaging, advertising, and social media content. These clients typically pay significantly more than individual restaurants but require a stronger portfolio and often a more polished, commercial-grade presentation to win the work.
Use freelance platforms strategically. General freelance platforms (Upwork, Fiverr) tend to attract lower-budget clients, but they can provide useful early experience and portfolio-building opportunities. Specialised photography marketplaces and local business directories often connect with better-paying, more serious clients.
Pricing Food Photography
Determining what to charge for food photography depends on several factors that should inform your rate rather than guesswork or pure competitor comparison:
Experience level: Photographers early in their food photography career typically charge less than established specialists with a strong portfolio and client history — but should still price based on genuine cost of doing business rather than underpricing reflexively. Our complete guide to pricing photography services covers the full calculation framework that applies to food photography as much as any other niche.
Project scope: A single-dish shoot for social media differs enormously in scope from a full restaurant menu shoot (potentially 30–60 dishes) or a packaging campaign requiring multiple setups, props, and revisions. Price according to actual time investment — shooting, styling, and editing — not a flat per-photo rate that doesn’t account for project complexity.
Usage rights: This is the single most important and most commonly underpriced factor in commercial food photography. A restaurant using images only on their own website and social media requires a much smaller licence than a national food brand using the same images in paid advertising campaigns across multiple platforms and potentially print media. Always clarify intended usage before quoting, and price usage rights as a distinct line item from your creative and shooting fee.
Realistic rate benchmarks: A single dish shoot for a small local restaurant or food blogger might range from $50–$200 per dish depending on market and complexity. A half-day restaurant menu shoot (10–20 dishes) commonly ranges from $500–$1,500. Commercial brand and packaging work, with its associated usage rights and higher production standards, often ranges from $1,500–$5,000+ per project depending on scope and brand size.
How to charge for restaurant photography specifically: Most food photographers charging restaurants base their rate on the number of dishes to be photographed plus a separate consideration for usage rights (website and social media use is typically priced lower than any paid advertising use). A common structure: a half-day or full-day rate covering up to a specified number of dishes, with additional dishes priced individually beyond that number.
Building Food Photography Into a Full Career
Food photography can function as a standalone specialty or as one service within a broader commercial photography practice. Some photographers build their entire career around food and beverage work exclusively; others incorporate it as one offering alongside product photography, restaurant interior photography, and hospitality brand work more broadly — since these clients often need all of these services from the same trusted photographer.
For the broader business mechanics that apply to any photography specialty — marketing, website building, and the full range of income strategies — our guides to marketing your photography business and how to make money with photography cover the complete strategic picture beyond food photography specifically.
Further Reading
For lighting technique that applies across food and other studio-based photography, our guide to light modifiers for portraits covers softboxes, reflectors, and diffusion principles that translate directly to food lighting setups. For the lens decisions specific to close-up and macro work, our photography lenses guide covers macro lens selection in depth.
For external learning, Rachael Korinek’s food photography education is widely regarded as one of the most thorough and technically rigorous food photography educators working today, with extensive free content alongside paid courses. The Food Photography School community and James Ransom’s commercial food photography portfolio offer further reference points for both technique and the commercial side of the genre.
Final Thoughts
Food photography rewards patience and precision more than almost any other photography genre — the difference between a forgettable plate of food and a genuinely appetising image often comes down to small, deliberate choices in light direction, styling detail, and editing restraint, rather than expensive equipment.
Start with consistent light (natural window light is the most accessible starting point), build a small, versatile prop collection, and practice the discipline of styling with restraint rather than excess. As both your technical and styling skills develop, the commercial opportunities — from local restaurants to food brands to cookbook publishers — are genuinely abundant for photographers who can consistently make food look the way it deserves to look.

Charles is a passionate photographer and visual storyteller with a keen eye for capturing authentic moments and timeless emotions. Through here, he combines creativity, technical expertise, and a love for natural storytelling to create images that preserve life’s most meaningful memories. His work focuses on genuine connections, beautiful details, and the unique stories behind every photograph.